31+ Fruit Drawing Pencil Sketches
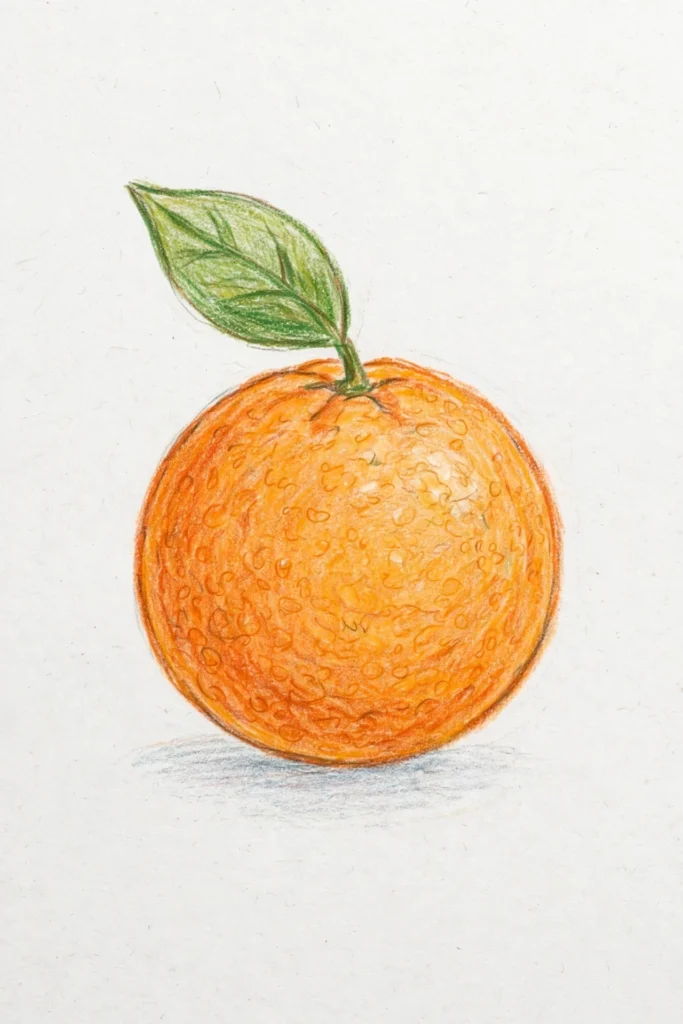
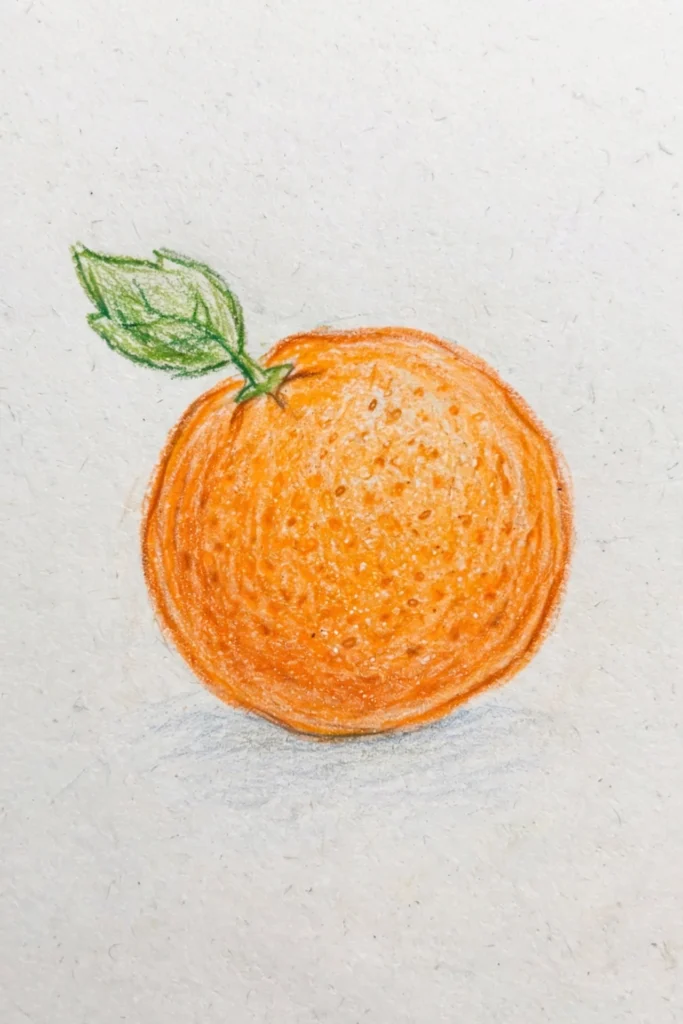
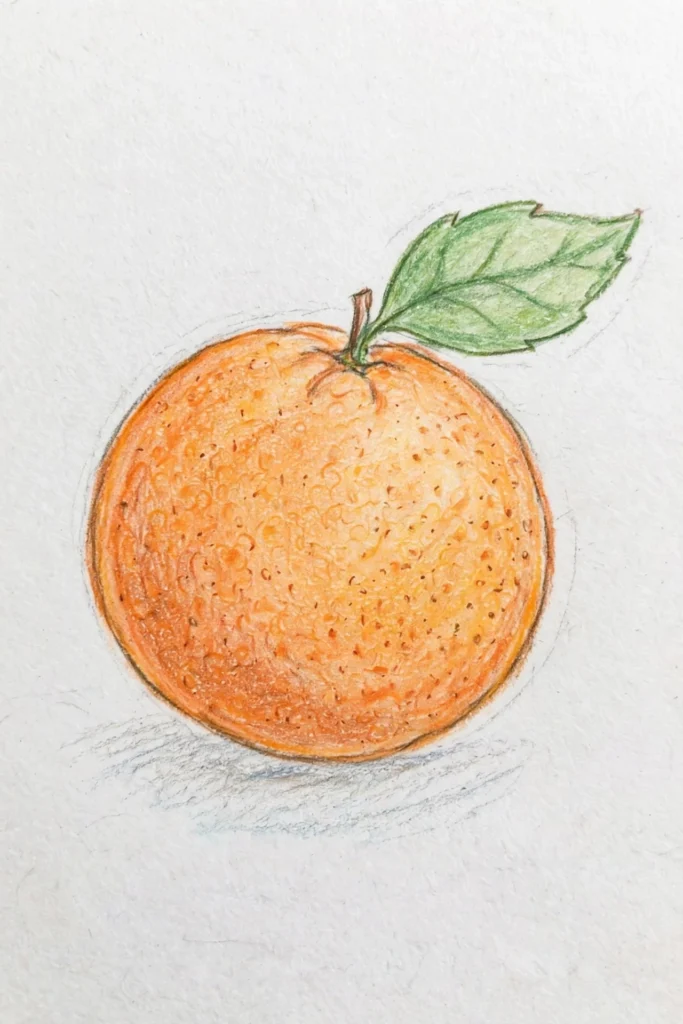
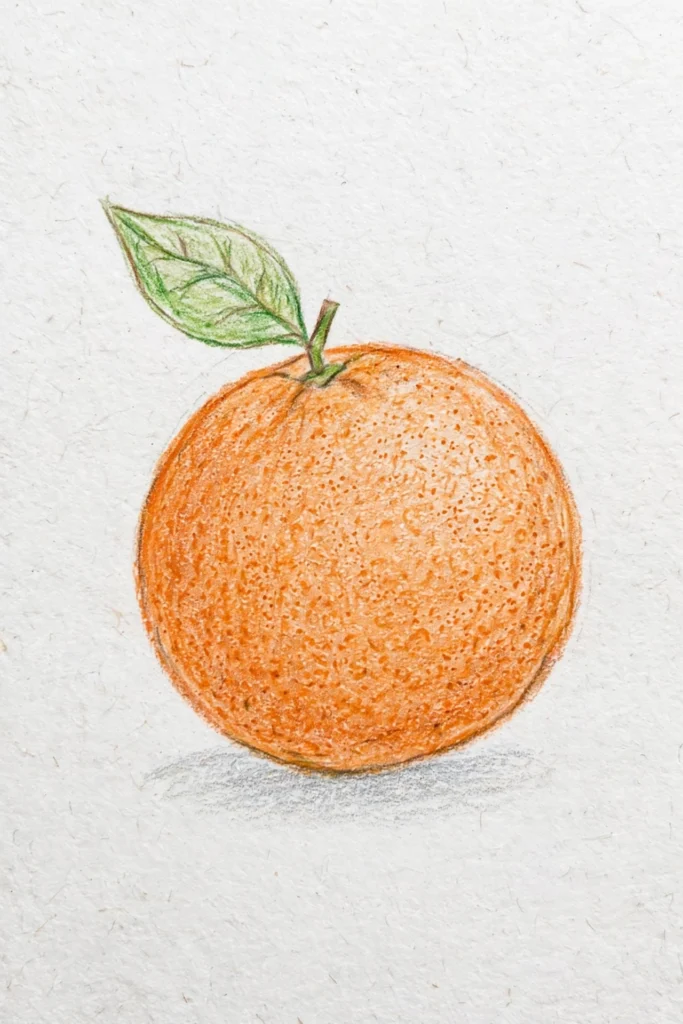
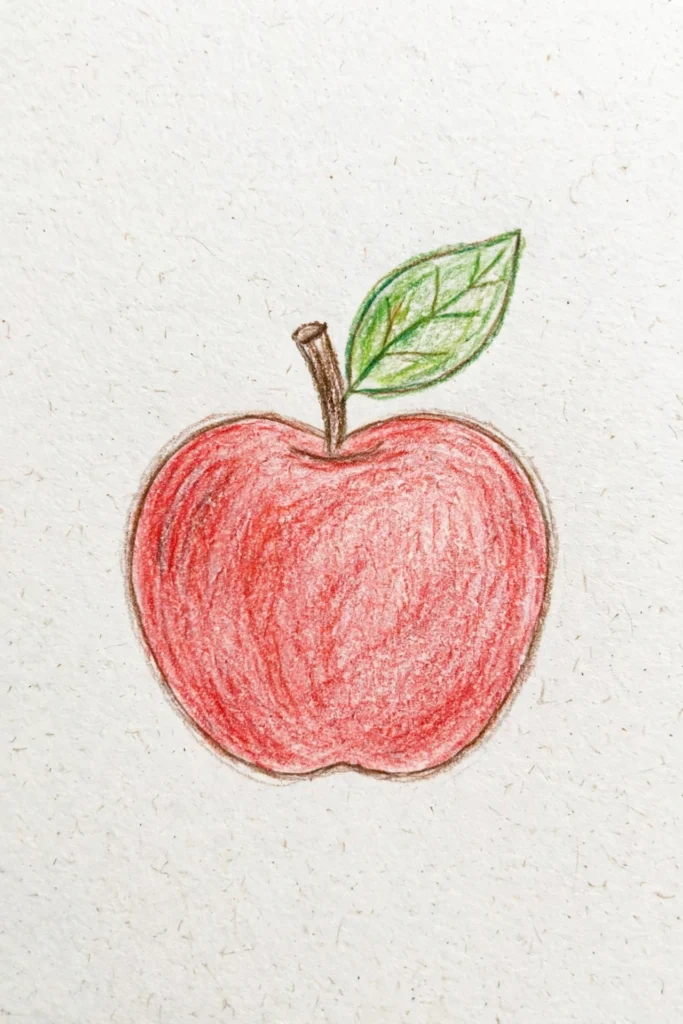
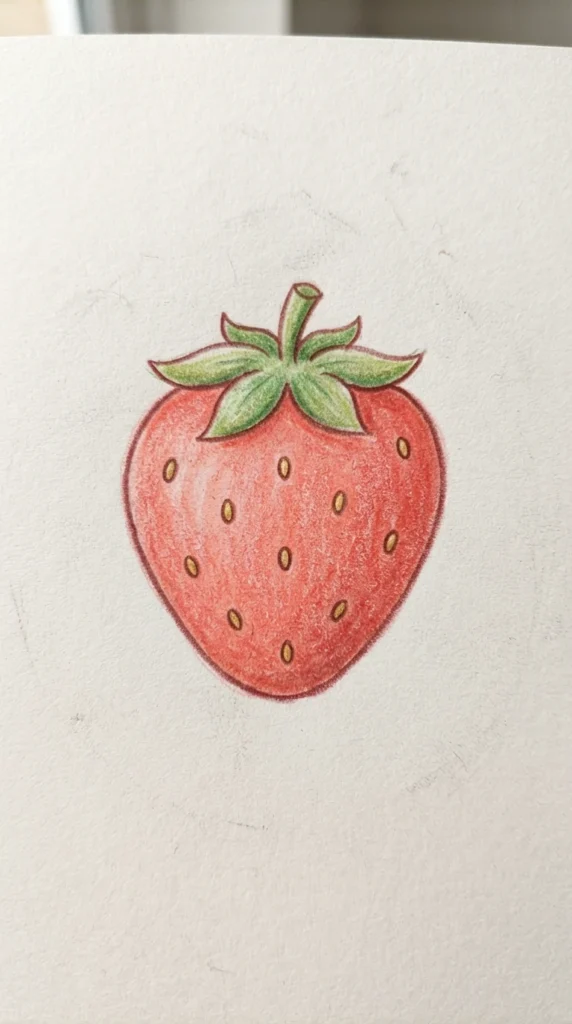
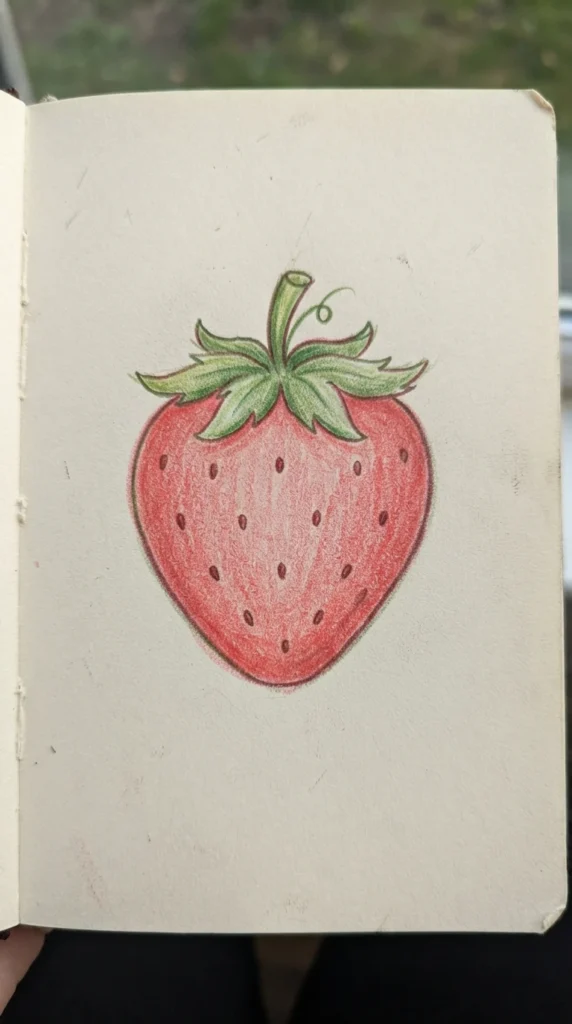
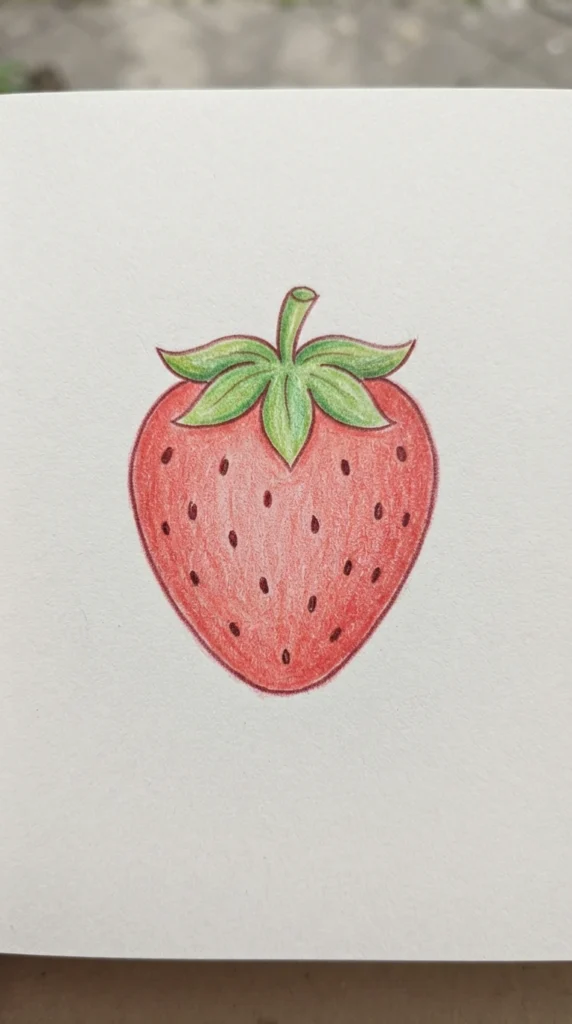
Fruits are beautiful. They have bright colors. Interesting shapes. Nice textures. And they do not move. That makes them perfect for drawing.
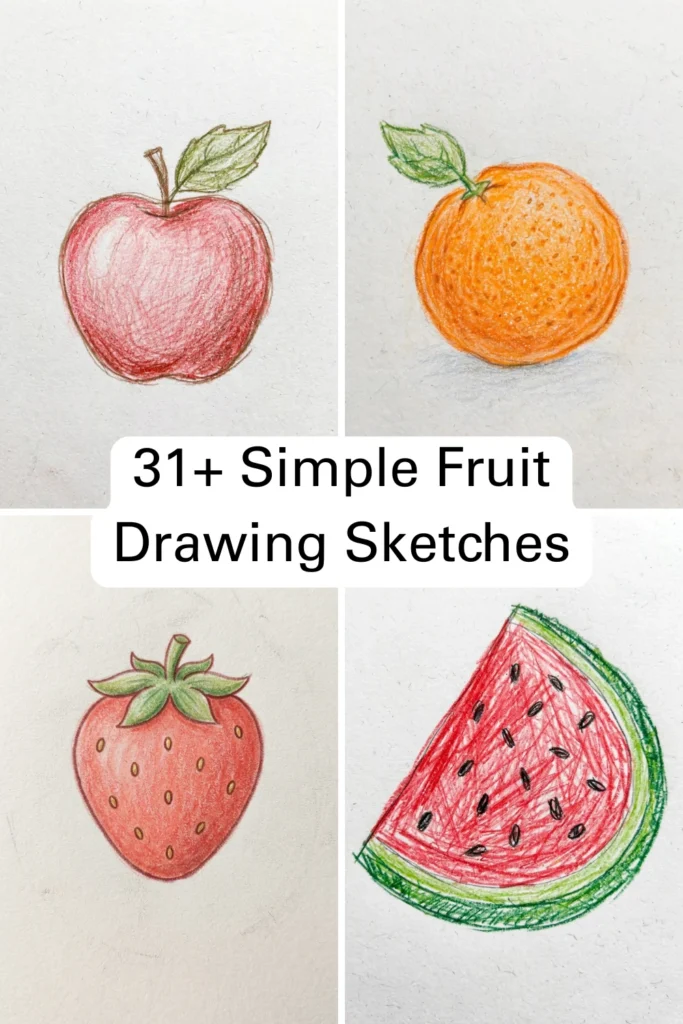
Have you ever tried drawing an apple or a banana? They look easy, right? But when you start, it gets tricky. The curves are not perfect. The shading is hard. The stem looks weird.
That is okay. Everyone starts somewhere. And fruits are actually the best thing to practice on. They are simple. They are everywhere. And you can take your time.
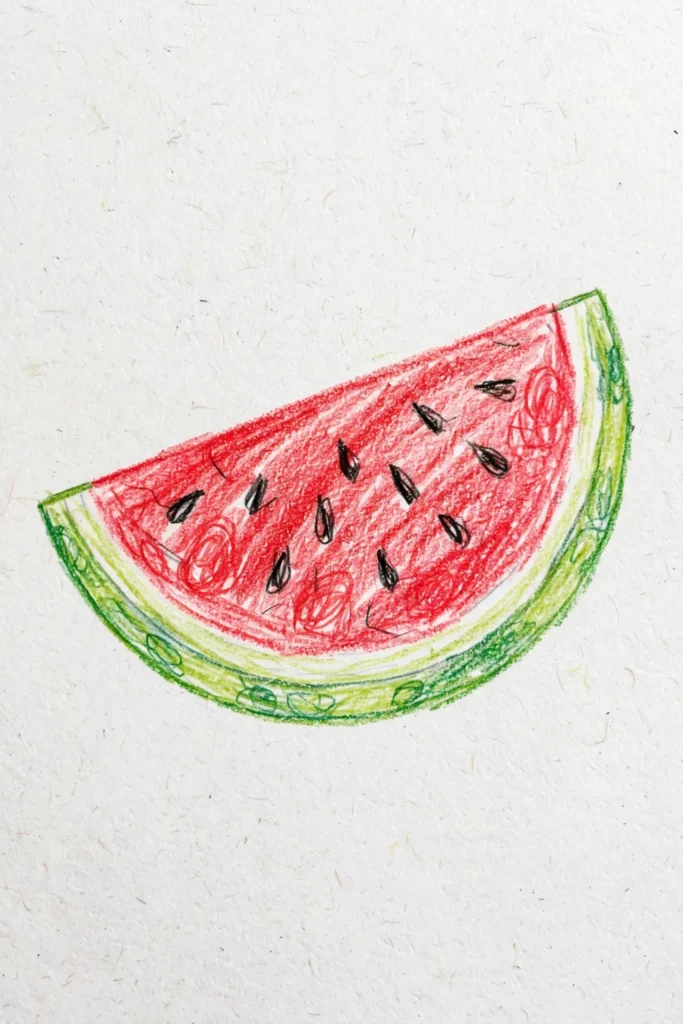
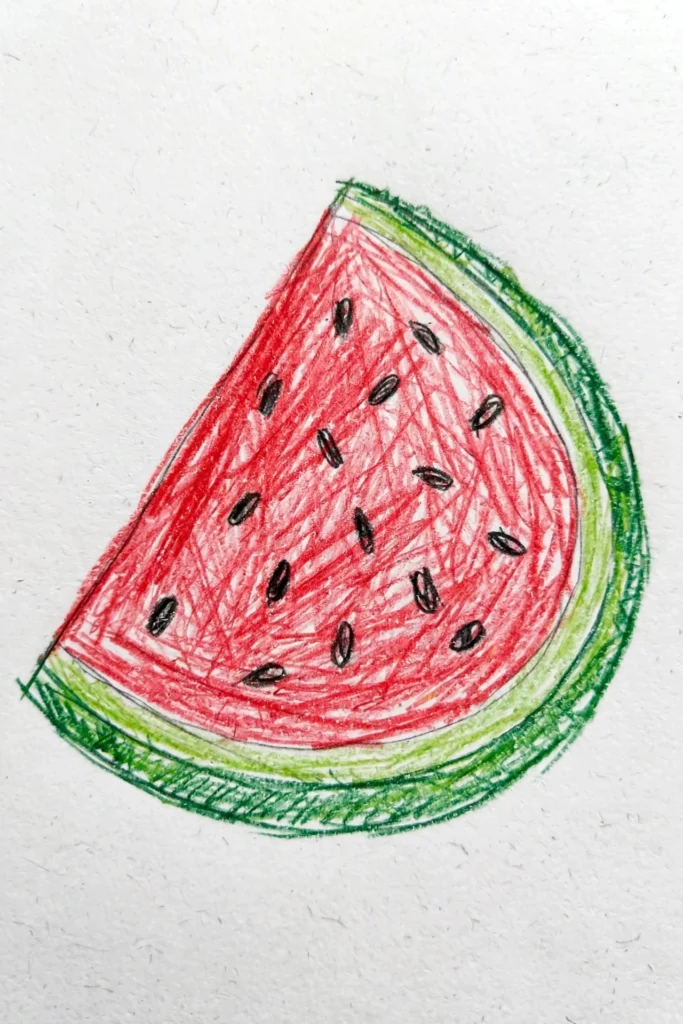
This list has over 31 fruit drawing ideas. These are pencil sketches. That means you only need a pencil and paper. No colors needed. Just black and white. But they still look amazing.
Shading is the secret. Light and dark areas make a fruit look real. You will learn how to do that step by step.
Grab your pencil. Pick a fruit from your kitchen. Let us start sketching.
✏️ Products That Make Fruit Drawing Easy
You do not need expensive stuff. But good tools help you draw better. Here are some nice ones for beginners.
- Drawing Pencils – Staedtler Mars Lumograph or Faber-Castell 9000. They come in different shades like 2B, 4B, and 6B.
- Sketchbooks – Strathmore or Canson sketchbooks. Thick paper that does not tear when you erase.
- Erasers – Tombow Mono eraser or a kneaded eraser. Kneaded erasers are soft and perfect for lightening dark areas.
- Pencil Sharpener – A good one with two holes. Keeps your pencil tip sharp for fine details.
- Blending Stumps – Tortillons or blending stumps. Help you smooth out your shading.
- How-to-Draw Books – “Drawing for the Absolute Beginner” by Mark Willenbrink or “How to Draw Fruits” by Jasmina Susak. Full of easy tutorials.
31+ Fruit Drawing Pencil Sketches
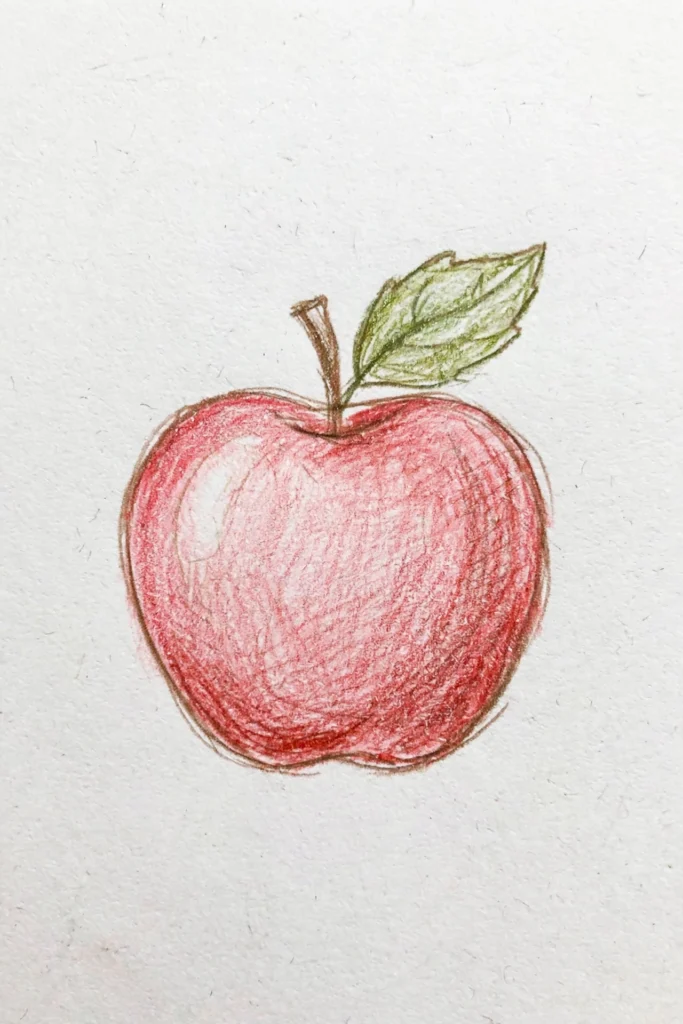
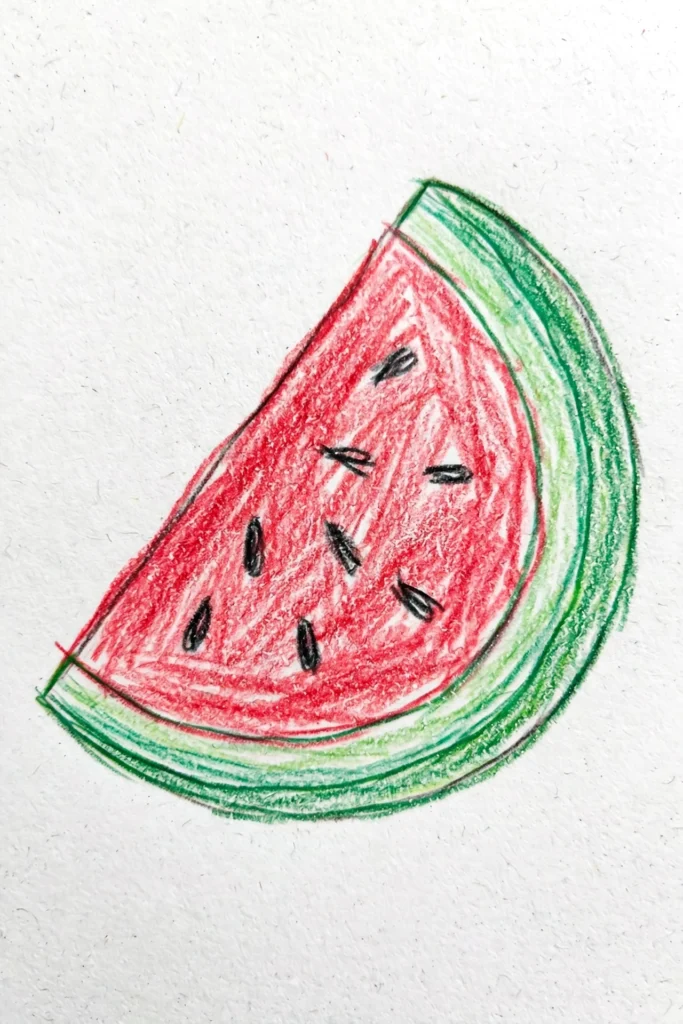
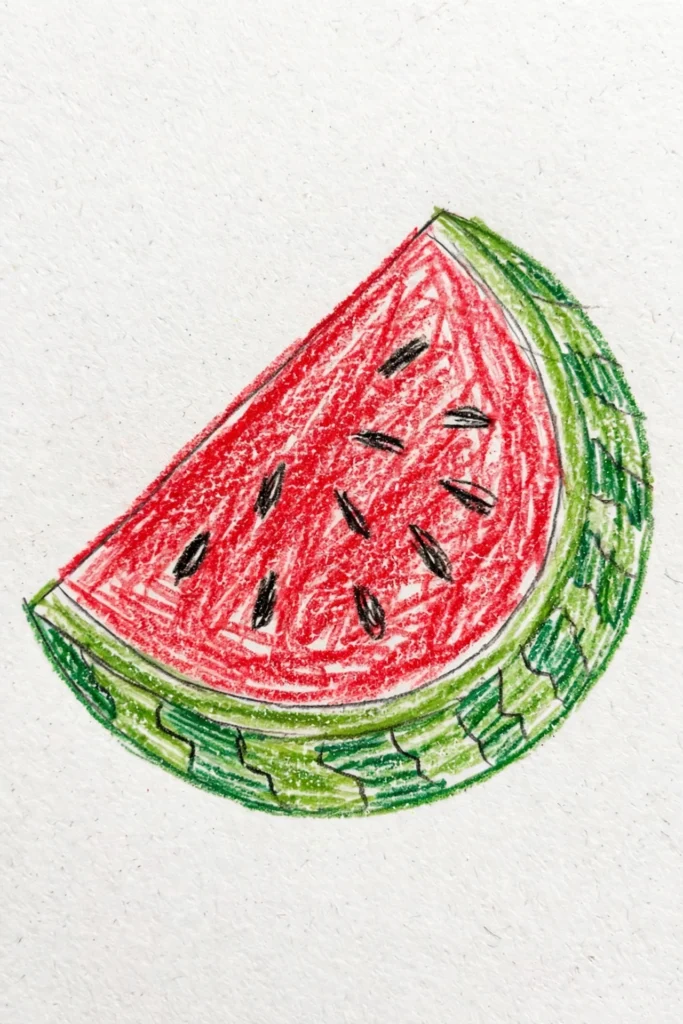
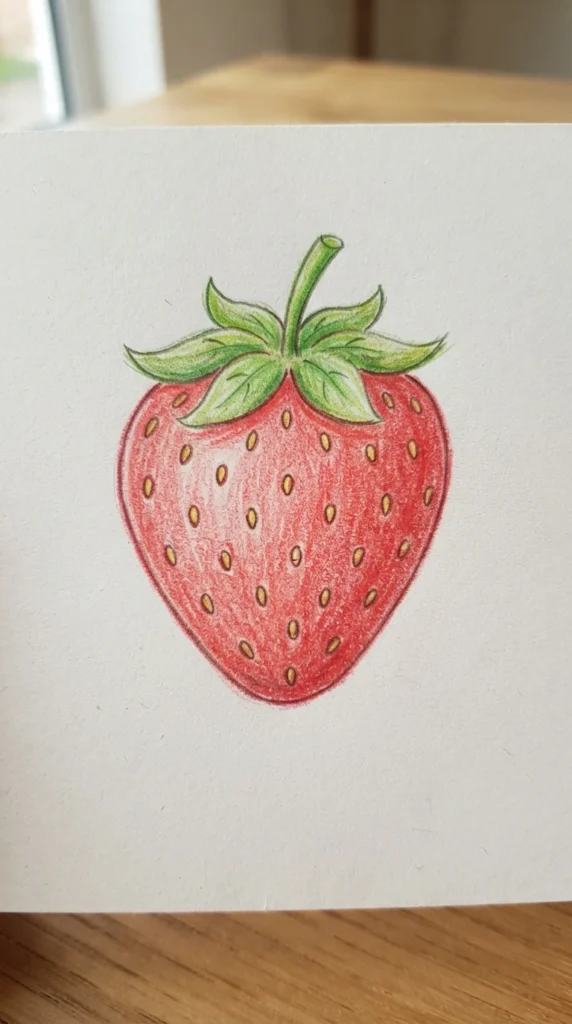
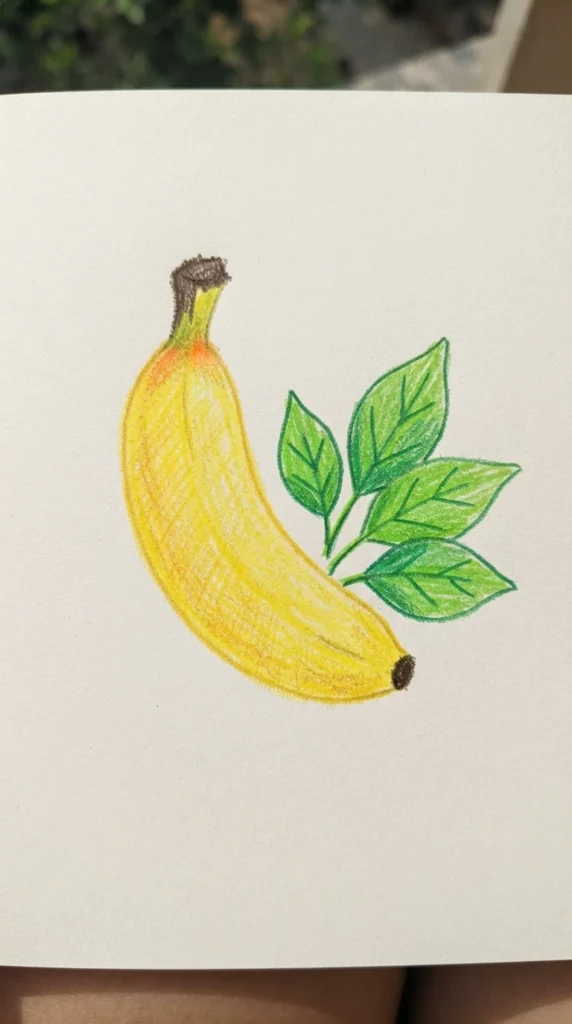
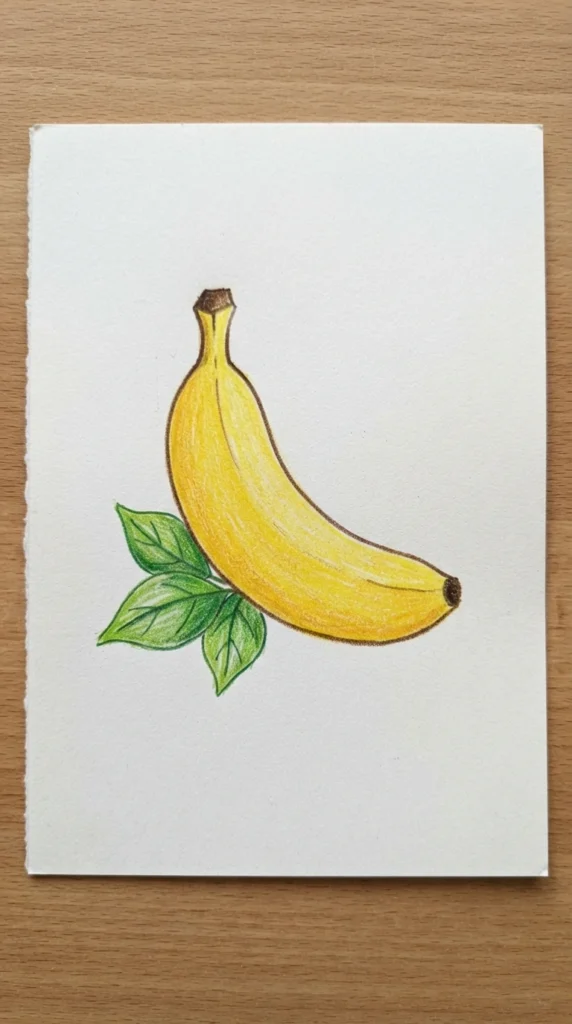
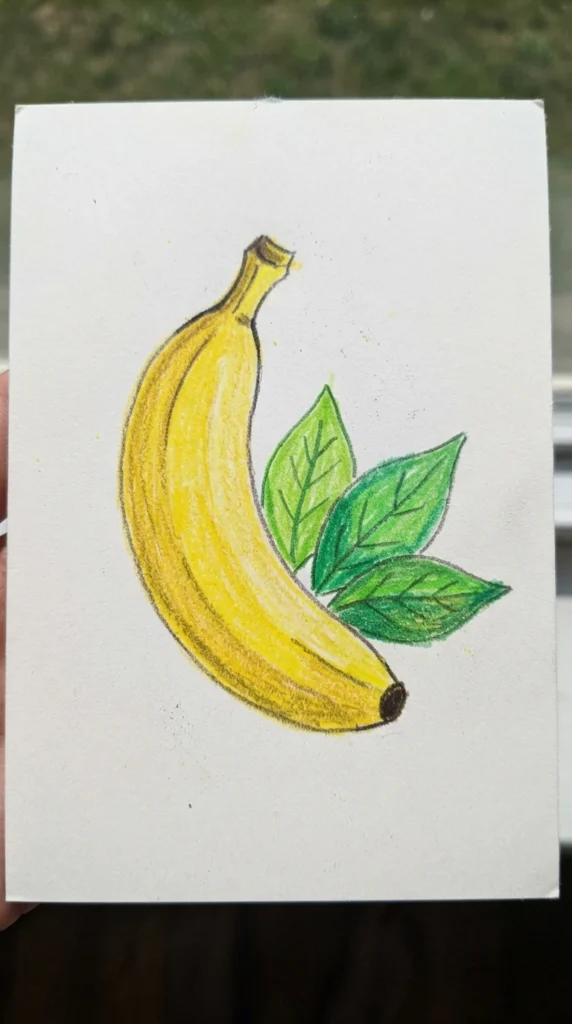


FAQs
1. Do I need color pencils to draw fruits?
No! Pencil sketches are just black and white. They use shading to show light and dark. That makes the fruit look 3D and real. You do not need any colors.
2. What pencil should I use?
Start with a regular HB pencil. That is the standard one. For darker areas, use a 2B or 4B. For lighter shading, use a 2H. A set of 3 or 4 pencils is enough to start.
3. What fruit is the easiest to draw?
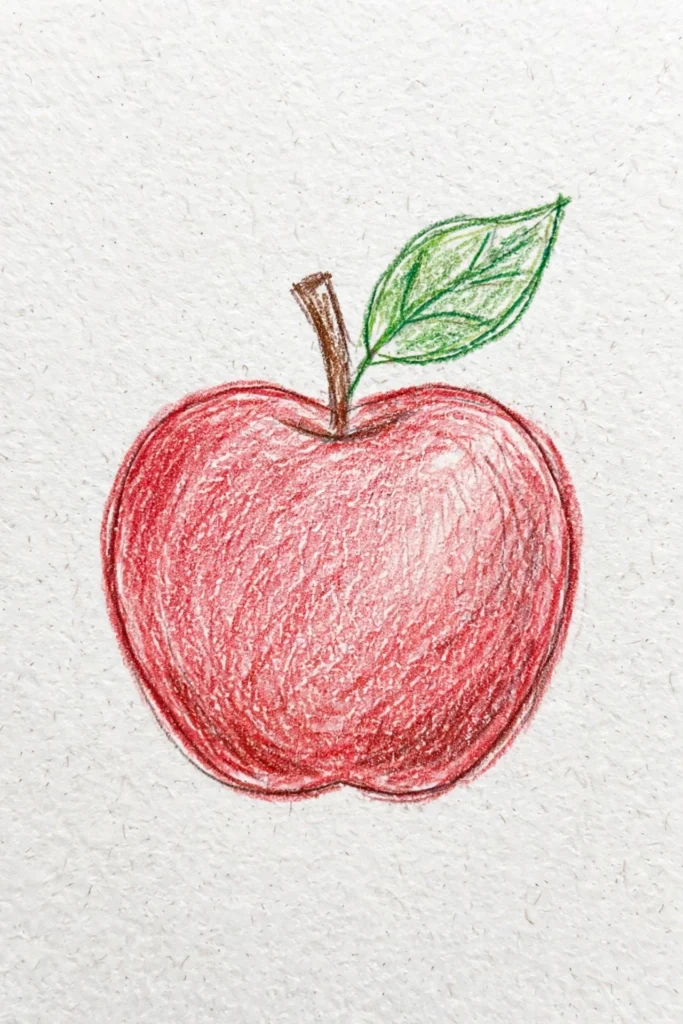
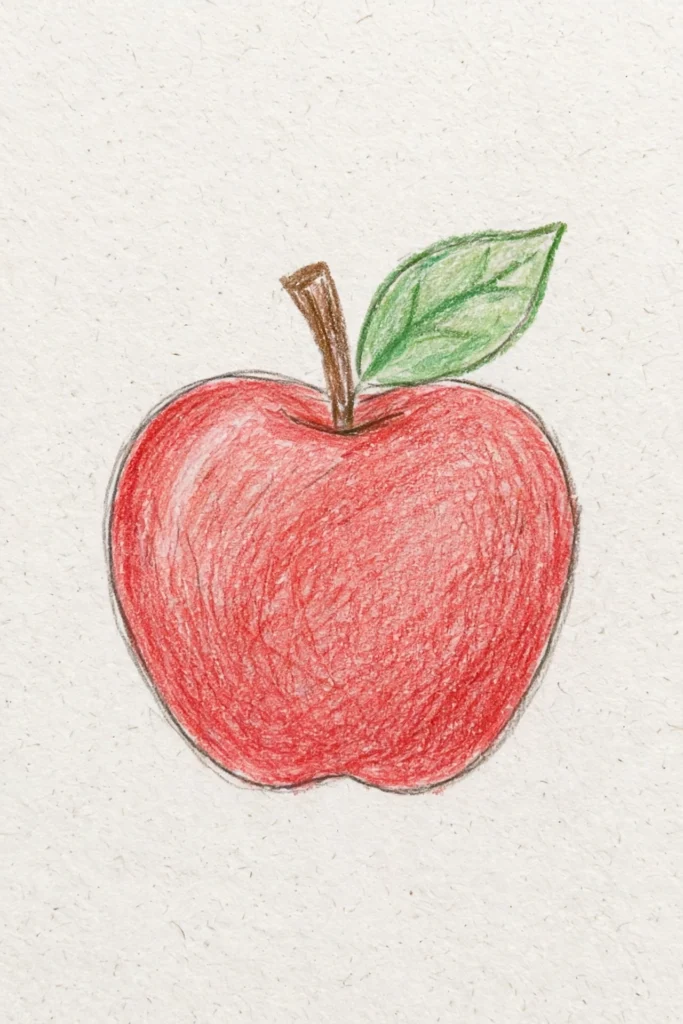
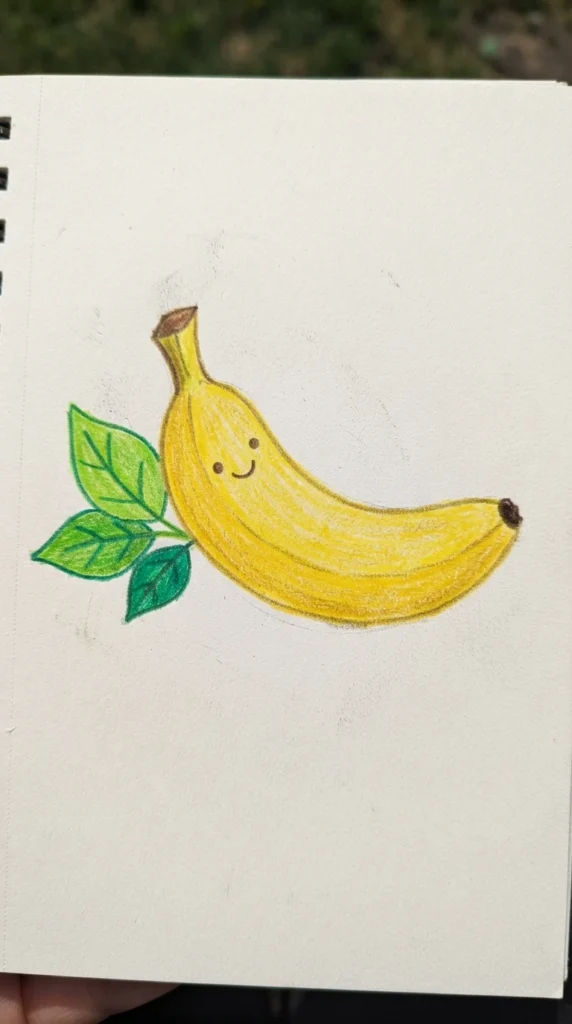
An apple is very easy. It is basically a circle with a dip at the top. A pear is also simple – it is like a figure eight. Or try a banana. It is just a curved oval.
4. How do I make my fruit drawing look real?
Shading is the answer. Look at your fruit. See where the light hits it. Leave that area white or very light. See where the shadow is. Make that area dark. Blend the middle parts softly. That gives it a 3D look.
5. What if I mess up the shape?
That is fine. Use your eraser. Fix the lines. Keep going. Sometimes messing up helps you learn better.
6. What are the basic steps for drawing any fruit?
Here is a simple way:
- Step 1: Draw a light outline of the fruit shape.
- Step 2: Add the stem or leaves if it has them.
- Step 3: Find the light side and the dark side.
- Step 4: Shade the dark side gently.
- Step 5: Blend the shading with your finger or a stump.
- Step 6: Add more layers until it looks real.
7. How long does a fruit sketch take?
A simple sketch can take 20 to 30 minutes. A detailed one might take an hour or more. Take your time. Enjoy each step.
8. Should I draw from a real fruit or a picture?
Both work. A real fruit is better because you can see the light and shadow in real life. But a picture is fine too. Use your phone to take a photo of a fruit and draw from that.
Conclusion
Drawing fruits with a pencil is a great way to learn. The shapes are simple. The shading is forgiving. And you can practice as many times as you want.
Do not worry if your first apple looks like a potato. That is normal. Every artist starts there. The more you practice, the better you get. Try different fruits. Try different angles. Cut a fruit in half and draw the inside. That looks really cool.
The best part is you can do this anywhere. On your desk. At the kitchen table. Outside in the garden. Just you, a pencil, and some fruit.
Pick one fruit from this list. Follow the steps. Shade slowly. And just go for it. Even if it is not perfect, you still learned something new. That is pretty cool.
Now grab that pencil and get started. You got this.