15+ Easy Photography Poses
Photography can feel like a complicated art. Many people think they need expensive cameras and years of training to take good pictures. But the truth is, anyone can take beautiful photos with just a little guidance.

Whether you are using a smartphone or a basic camera, easy photography ideas are all around you. The goal is not to be perfect. It is to capture moments, feelings, and beauty in a simple way.
This guide is for beginners and anyone who wants to enjoy photography without stress.
We will look at what basic products you need, where you can find great photo opportunities, what to keep in mind and what to avoid, and answer common questions.
Photography should be fun, not hard. Let us explore how you can take stunning images with ease.
15+ Easy Photography Poses
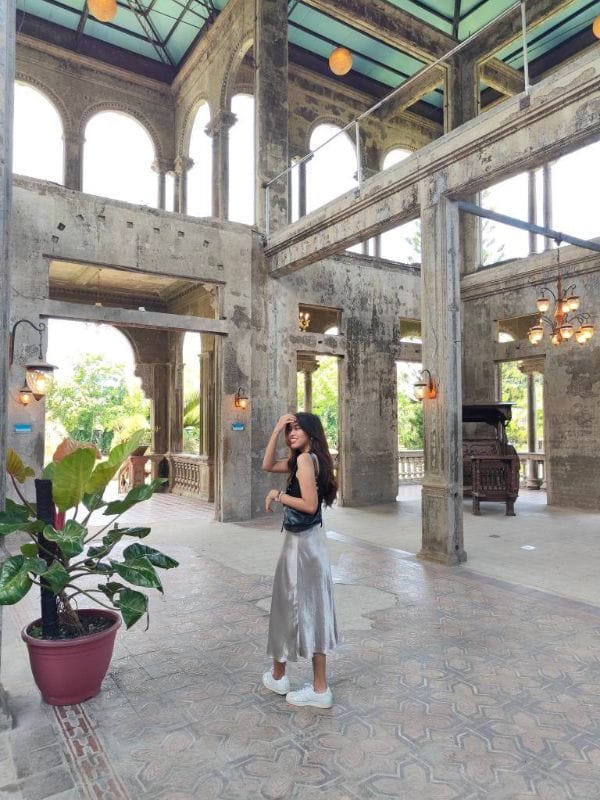
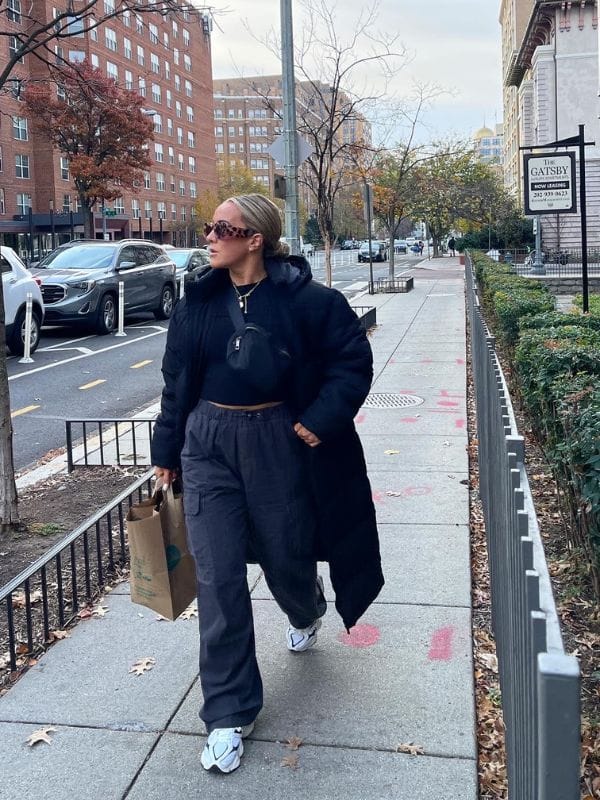
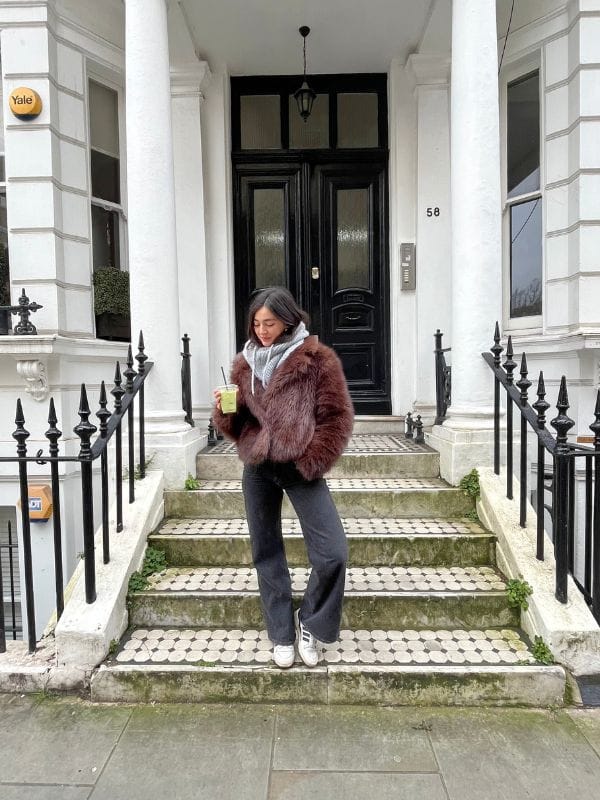

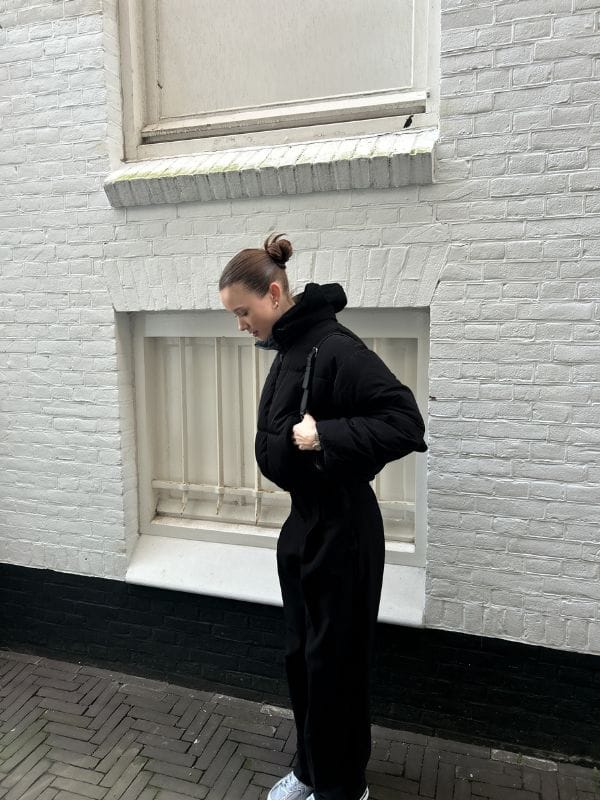
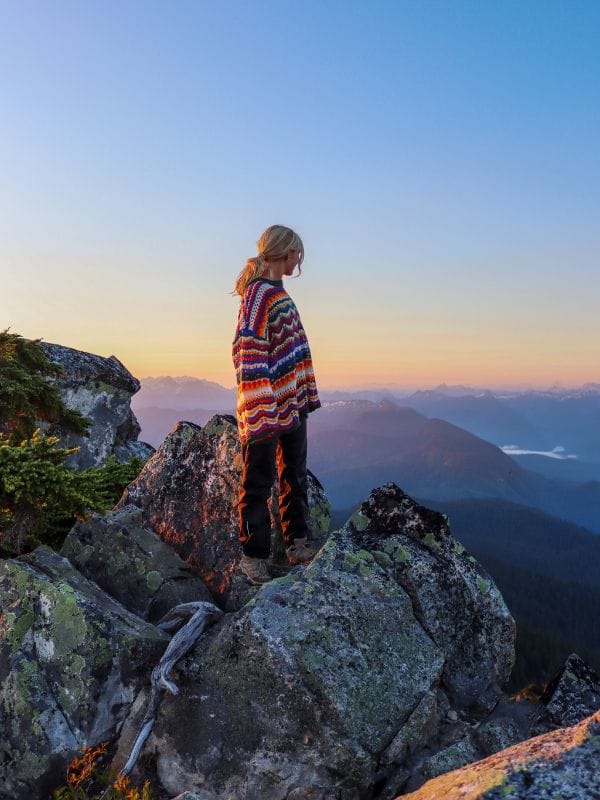
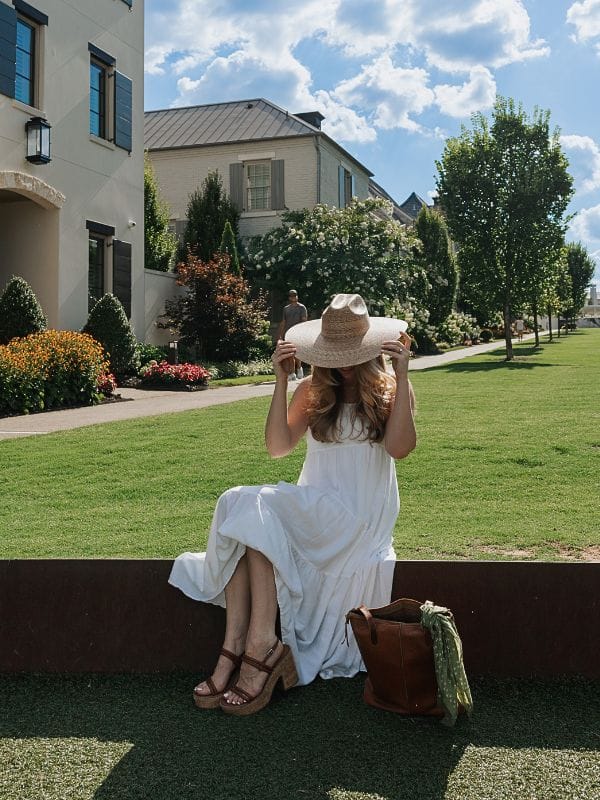
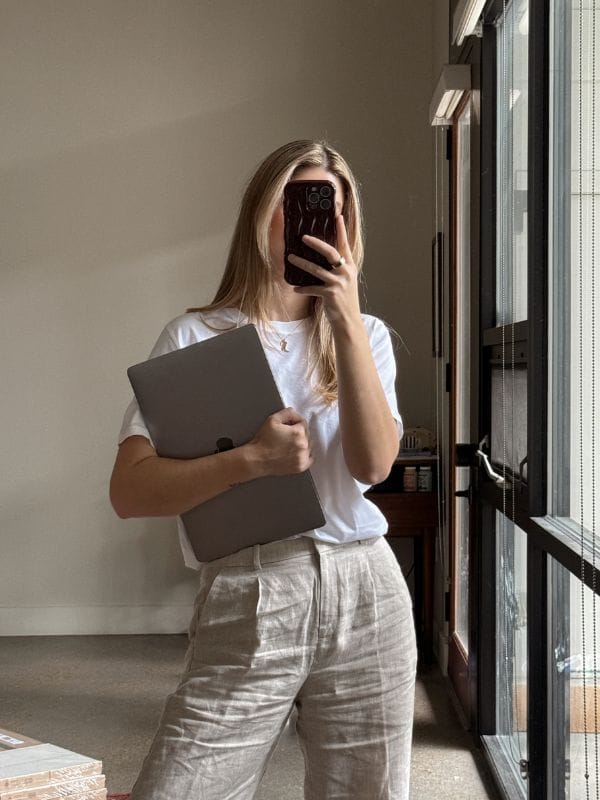
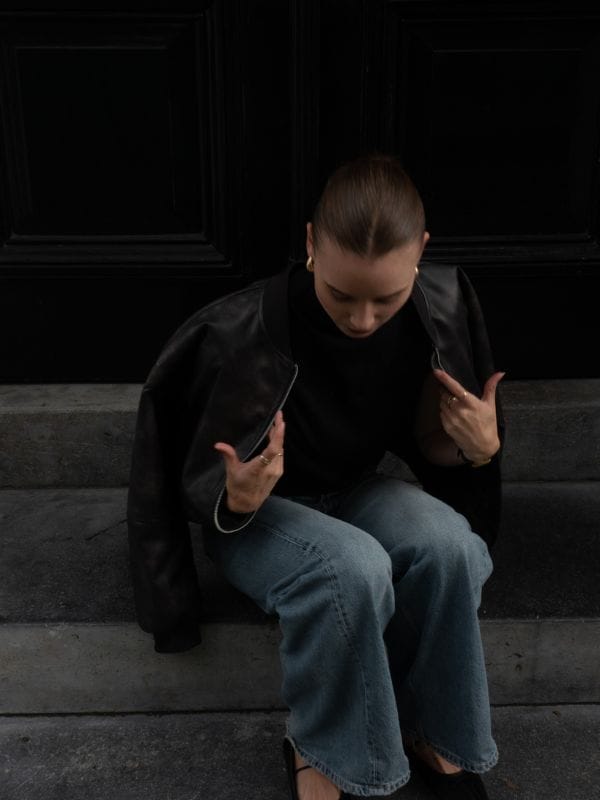
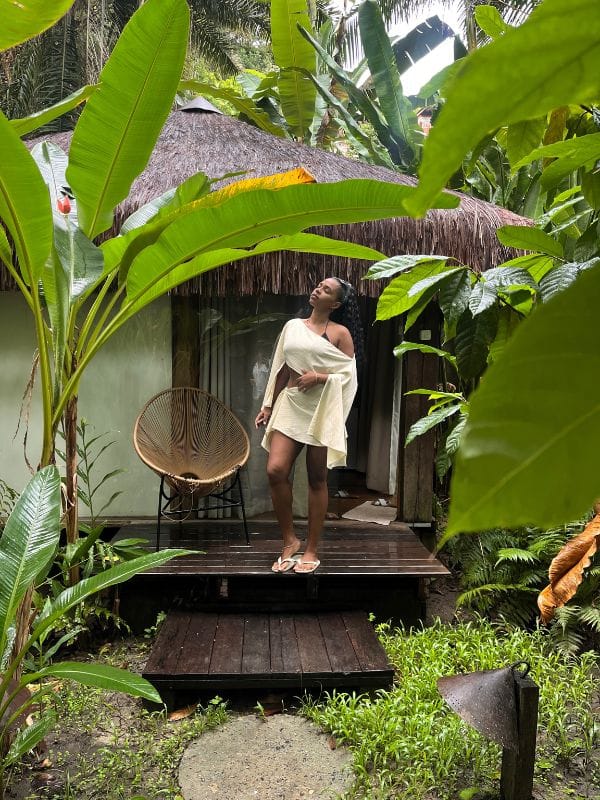
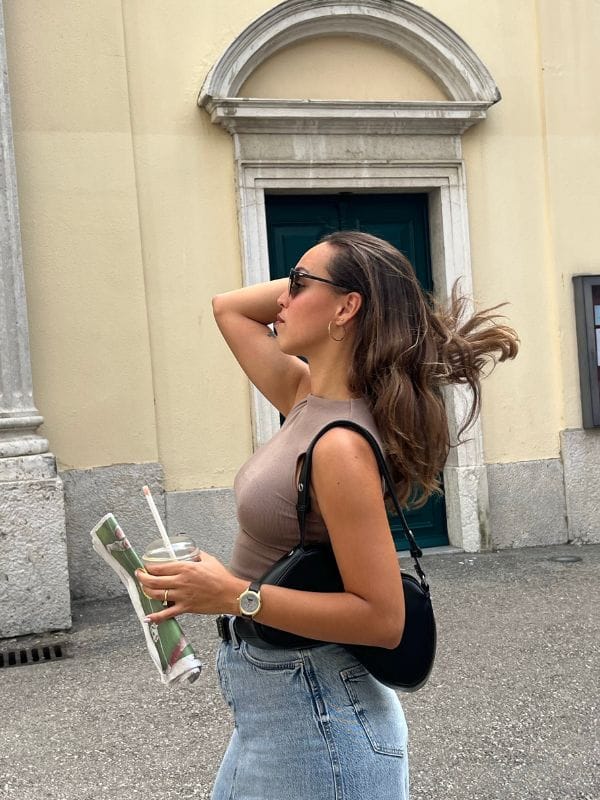
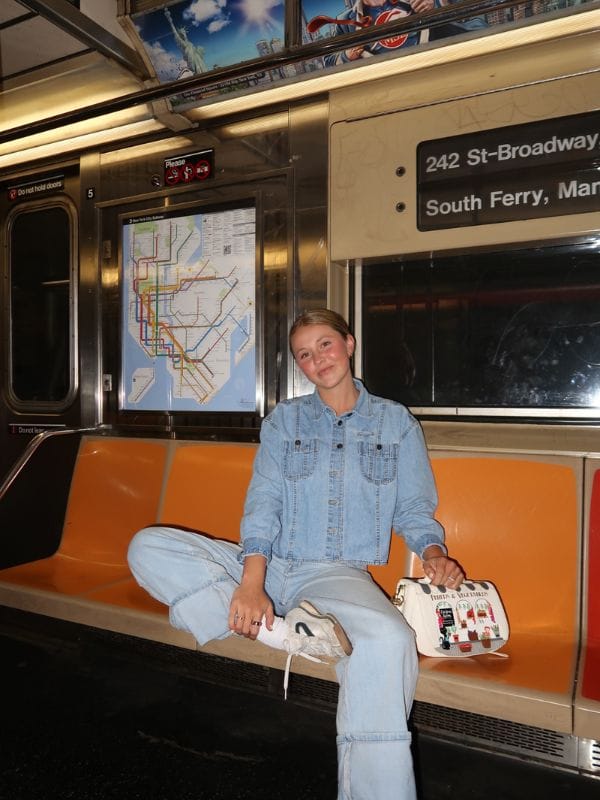
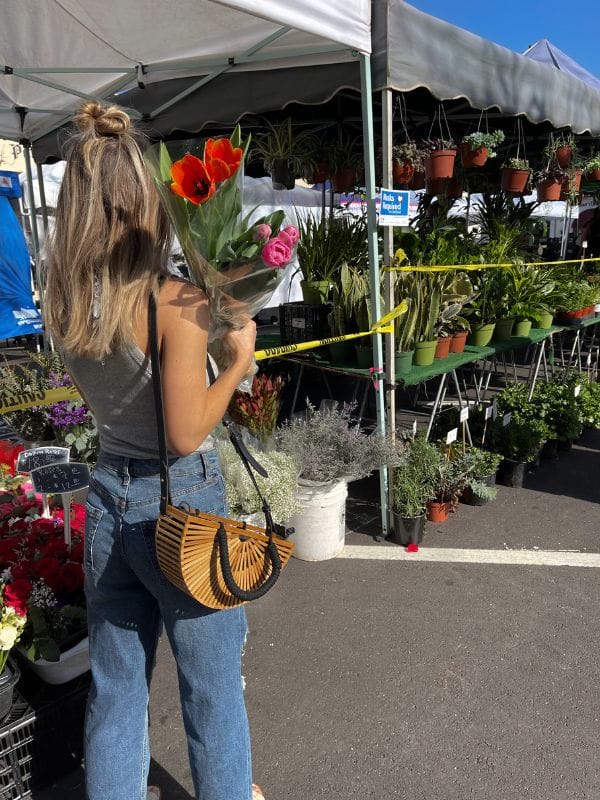

Products to Use for Easy Photography
You do not need a lot of gear to start taking great photos. In fact, the best camera is the one you have with you. Below is a simple table showing the basic products that make photography easy, along with their good and bad points.
| Product | Pros (Good Points) | Cons (Bad Points) |
|---|---|---|
| Smartphone Camera | Always with you, very light and easy to carry, simple to use with automatic settings, built-in editing tools, great for sharing photos online instantly. | Less control over focus and exposure, not as good in very low light, limited zoom quality, photos can look soft when printed very large. |
| Entry-Level DSLR or Mirrorless Camera | Much better image quality, you can change lenses for different situations, good performance in low light, gives you full creative control when you are ready. | Heavier and bulkier to carry, more expensive than a phone, takes time to learn all the settings, you need to buy lenses and memory cards separately. |
| A Simple Tripod | Keeps your camera or phone completely still, stops blurry photos, perfect for taking self-portraits or group shots, very useful for night or sunset photos. | Can be awkward to carry around, cheap ones may break easily, takes a little time to set up, not great for fast-moving subjects. |
| Reflector (or White Board) | Very cheap and easy to make at home, softens harsh shadows on faces, makes skin tones look healthy and glowing, lightweight and folds flat for storage. | Does not work without a light source (needs sun or a lamp), you may need someone to hold it for you, not helpful indoors in dark rooms. |
| Portable LED Light | Small and battery-powered, adds extra light when it is dark, clips easily onto phones or cameras, gives a soft and natural look compared to harsh flash. | Adds a little extra weight to your setup, needs batteries that can run out, cheaper ones can cast a blue or cold color on your subject. |
| Editing Apps (Like Snapseed or VSCO) | Free or very low cost, easy to use with simple sliders, lets you fix brightness and color quickly, you can edit and share photos right from your phone. | Over-editing can make photos look fake, takes a little practice to use well, some features require a paid subscription, not a replacement for good original photos. |
Best Locations for Easy Photography
You do not need to travel far to find great places for photos. Some of the best locations are right in your neighborhood. Here are some easy-to-access spots where you can practice and get wonderful results.
Your Own Home
Your home is the easiest place to start. The living room with natural light from a window is perfect. The kitchen can be a great spot for food or lifestyle photos.
Even your bedroom, with its personal items and soft fabrics, offers a cozy background. Look for clean walls, interesting textures, and good window light.
Local Parks and Gardens
Parks are free and full of beauty. You can find green grass, colorful flowers, tall trees, and pretty paths.
The natural light in a park is soft and flattering, especially in the morning or late afternoon. These spaces give you room to move around and try different angles.
Downtown Streets and Alleys
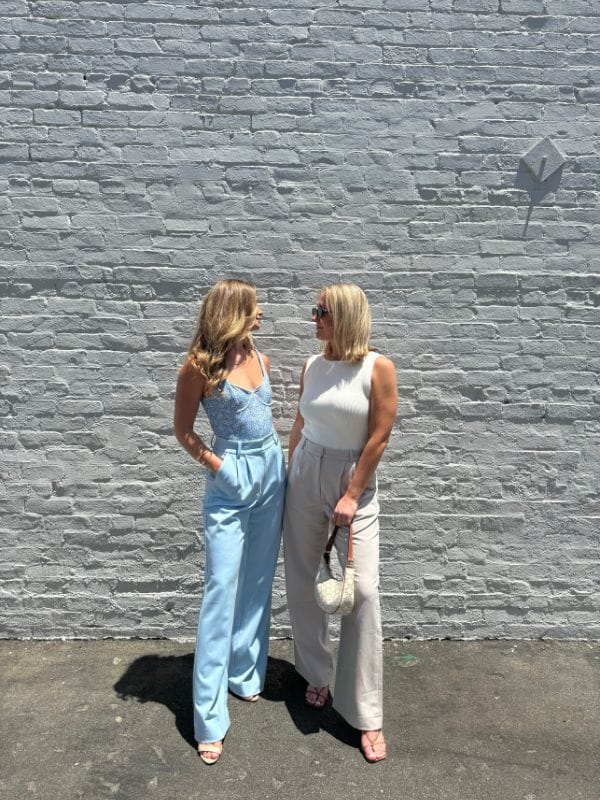
City streets have a lot of character. Colorful shop fronts, brick walls, street art, and busy sidewalks make lively backgrounds.
Early mornings are best when there are fewer people. Alleys with interesting textures also work well for portrait shots.
Your Own Backyard or Balcony
If you have outdoor space at home, use it. A small garden, a wooden deck, or even a chair on the balcony can be a great photo spot.
You can control the setting easily and take photos anytime you like without going anywhere.
Coffee Shops and Cafes
These indoor spaces are warm and inviting. The soft lighting, wooden tables, and pretty cups create a cozy, lifestyle feel.
Just ask the staff before taking photos, especially if you plan to move furniture around.
Near Water
Lakes, rivers, ponds, or even fountains add a calm feeling to your photos. Water reflects light beautifully, and the blue tones make images look peaceful. Find a safe spot near the edge and let the water be your backdrop.
What to Consider and What to Avoid
Planning your photos a little bit helps a lot. Here are the key things to think about and the common mistakes to skip.
What to Consider
- Use Natural Light Whenever Possible
The best light is free. Morning light is soft and golden. Afternoon light is bright, but late afternoon (the golden hour) is warm and beautiful. Stand near windows for indoor photos. Good light makes even a simple subject look amazing. - Clean Your Lens
This is a very simple step that people forget. Your phone or camera lens collects dust and fingerprints. Wipe it gently with a soft cloth before you start. Clean lenses give you sharp, clear pictures. - Get Close to Your Subject
Filling the frame with your subject makes the photo stronger. Do not be afraid to step closer. This works for people, flowers, food, or anything else. Sometimes, getting very close reveals beautiful details you cannot see from far away. - Try Different Angles
Do not shoot everything from eye level. Crouch down low and shoot upwards. Stand on a chair and shoot downwards. Move to the side. Changing your angle changes the whole feeling of the photo and makes it more interesting. - Keep Your Camera Steady
Hold your phone or camera with both hands. Keep your elbows close to your body for support. If you are indoors or it is dark, rest your camera on a table or a wall to keep it still. A steady camera means no blurry pictures. - Simplify the Background
A clean, simple background makes your main subject stand out. Look for plain walls, open skies, or blurred greenery. Too many things in the background distract the viewer’s eye from what matters.
What to Avoid
- Avoid Harsh Midday Sun
The sun between 11 AM and 3 PM is very strong. It creates dark shadows under eyes and noses. If you must shoot at this time, move into the shade. Open shade under a tree or building gives soft, even light. - Do Not Use Digital Zoom on Phones
Digital zoom makes your photo blurry and grainy. Instead, move your body closer to the subject. If you cannot get closer, take the photo and crop it later. The quality will be much better than using zoom. - Avoid Cluttered Compositions
Too many objects in your frame confuse the viewer. Decide what the main subject is and focus on that. Move things out of the way if you can. Less is almost always more in photography. - Do Not Over-Edit Your Photos
It is tempting to add strong filters or turn up the colors too much. But heavy editing makes photos look unnatural. Keep your edits simple. Small changes to brightness, contrast, and warmth are usually all you need. - Avoid Shooting in Auto Mode All the Time
If you have a camera, try moving away from auto mode slowly. Learn what “Aperture Priority” or “Shutter Priority” does. These modes give you a little more control while still being easy. You will be surprised how fast you learn. - Do Not Forget to Back Up Your Photos
Losing your pictures is heartbreaking. Save your photos to cloud storage or transfer them to your computer regularly. Keep a second copy on an external hard drive or USB stick for safety.
Frequently Asked Questions (FAQs)
1. Do I need an expensive camera to take good photos?
No, not at all. Many stunning photos are taken on smartphones. The best camera is the one you have with you. Composition and lighting matter much more than the price of your gear.
2. What is the best time of day to take outdoor photos?
The golden hour – which is the hour after sunrise and the hour before sunset – gives the most beautiful, warm light. The blue hour (just before sunrise and just after sunset) also gives a lovely cool, calm light.
3. How can I take sharp, non-blurry photos?
Keep your camera or phone steady. Use both hands, rest your elbows on something stable, or use a tripod. Also, tap on your screen to focus on the main subject before you press the shutter.
4. What is the rule of thirds?
This is a simple composition tip. Imagine a tic-tac-toe grid on your screen. Place your main subject along those lines or where the lines cross. This makes your photo more balanced and interesting than putting the subject right in the middle.
5. Which free editing app is best for beginners?
Snapseed and VSCO are both excellent and free. They have simple sliders for brightness, contrast, and warmth. Start with basic adjustments and avoid heavy filters at first.
6. How do I take good photos indoors?
Find a large window with natural daylight. Position your subject facing the window. Do not use your camera’s built-in flash because it creates harsh, flat light. Use the window light as your main source.
7. How many photos should I take?
Take as many as you like! Digital photos are free. Take multiple shots from different angles and distances. You can always delete the bad ones later. More photos give you more chances to get one perfect shot.
Conclusion
Taking beautiful photos does not have to be hard or expensive. The most important things are light, composition, and practice. Start with the camera you already have, whether it is your phone or a simple digital camera.
Find interesting locations close to home, like your garden, a local park, or even your living room. Use the simple tools mentioned in the product table to help you along the way.
Pay attention to light and avoid harsh shadows. Keep your backgrounds clean and your composition simple. Most of all, be patient with yourself. Every great photographer started as a beginner.
The more you practice, the better you will get. Your unique view of the world is what makes your photos special.
So go out, look around you, and start taking pictures today. You already have everything you need.
Capture the little moments, the beautiful light, and the faces you love. These simple photos will become your most treasured memories over time.