Product Photography Ideas & Tips
Product photography is everywhere today. Whether you are selling items online, posting on social media, or just want to show off a new purchase, good product photos make a huge difference.
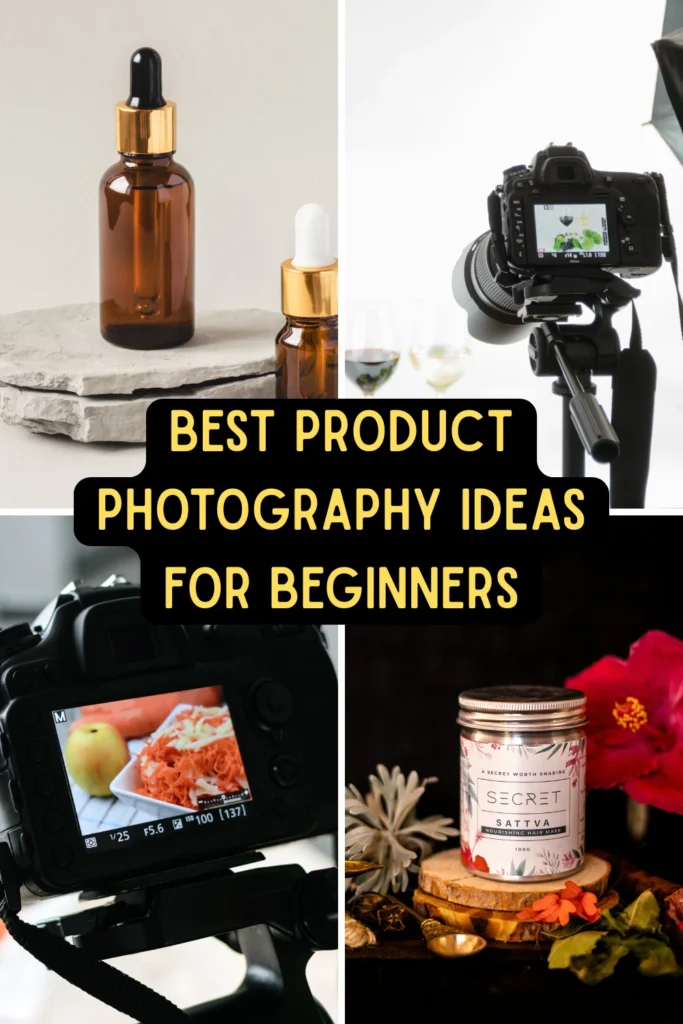
A great photo can turn a casual browser into a buyer. It builds trust and shows your product in its best light.
The good news is that you do not need a professional studio to take amazing product pictures. The real magic comes down to three things: good lighting, a steady setup, and a backdrop that lets your product shine.
With some simple ideas and basic tools, anyone can do it. This guide will walk you through the essential products you need, great locations to shoot, important tips to follow and mistakes to avoid, and answers to common questions. Let us get started.
Products to Use for Product Photography
You do not need to buy everything at once. Start with the basics and add more as you go. Here is a simple table showing the common tools used in product photography, along with their good and bad points.
| Product | Pros (Good Points) | Cons (Bad Points) |
|---|---|---|
| Smartphone Camera | Always available, very easy to use, good enough for most online platforms, built-in editing tools, lightweight and portable. | Less control over fine details, struggles with very small items, digital zoom lowers quality, not great in very low light. |
| DSLR or Mirrorless Camera | Excellent image quality, interchangeable lenses for different needs, great in low light, full creative control over settings. | Expensive, heavy to carry, takes time to learn manual settings, requires extra lenses for best results. |
| Macro Lens | Perfect for tiny products like jewelry or watches, captures very fine details, creates a soft blurry background that makes the item pop. | Only useful for close-up shots, can be costly, not good for large items, requires a steady hand or tripod. |
| Light Tent / Light Box | Gives you soft, even lighting with no harsh shadows, makes backgrounds look clean and professional, folds flat for easy storage, works well for small to medium items. | Not suitable for large products, can look a bit generic, cheap ones may have flimsy materials, takes time to assemble. |
| Continuous Lighting Kit | You can see exactly how the light looks before you take the shot, no need for flashes, works well with both cameras and phones, gives consistent results every time. | Can get hot if left on for too long, needs a power outlet nearby, cheaper kits may cast a yellow or orange tint. |
| Reflectors | Very cheap and easy to use, bounces light back into shadows, makes colors look more natural, lightweight and foldable. Can be made at home using white card or aluminum foil. | Does not work without a light source, may need an extra hand to hold it, less effective in very dark rooms. |
| Background Paper / Boards | Available in many colors, cheap and easy to replace, gives a smooth and clean look, you can roll it out flat or curve it for a seamless effect. | Gets dirty or creased easily, large rolls take up storage space, may reflect color onto shiny products. |
| Tripod | Keeps your camera perfectly still, stops blurry photos, allows you to take consistent shots from the same angle, very useful for flat-lay or top-down photos. | Bulky to carry, takes a little time to set up, cheap ones can be unstable and wobble. |
| Editing Software (like Lightroom, Canva, or Snapseed) | Fixes brightness and color easily, crops out unwanted parts, removes small dust spots, free and paid options available for all skill levels. | Can be time-consuming, over-editing makes products look fake, some good software costs a monthly fee, does not fix a poorly taken original photo. |
Best Locations for Product Photography
You do not need a rented studio to shoot products. Many everyday places work wonderfully. Here are some location ideas:
Your Home Desk or Table
This is the most convenient spot. A simple desk near a window gives you soft natural light.
You can set up a light box or background paper easily. You control everything – the light, the angle, and the props. It is quiet and you can shoot at any time.
Near a Large Window

Natural window light is free and beautiful. Place a table right next to a large window that gets lots of sun.
Cloudy days are the best for product photography, as they provide even, diffuse, and flattering light. North-facing windows give the most consistent, soft light all day. Use sheer white curtains to diffuse the light even more.
A Small Corner Studio at Home

If you have a spare corner in a room, turn it into a mini studio. Put a small table, a roll of background paper, and a couple of lights there. Leave it set up so you can shoot anytime. This saves time and keeps you consistent.
Outdoors in the Shade
Outdoor light is great for lifestyle product photos. Find a spot under a tree, an awning, or beside a building.
Open shade gives soft, even light with no harsh shadows. A wooden table or a clean patch of grass can be your backdrop. Just make sure there are no distracting reflections.
Inside a Retail Store or Workshop
If you make or sell products, your own store or workshop is a great setting. This gives your photos a real, authentic feel.
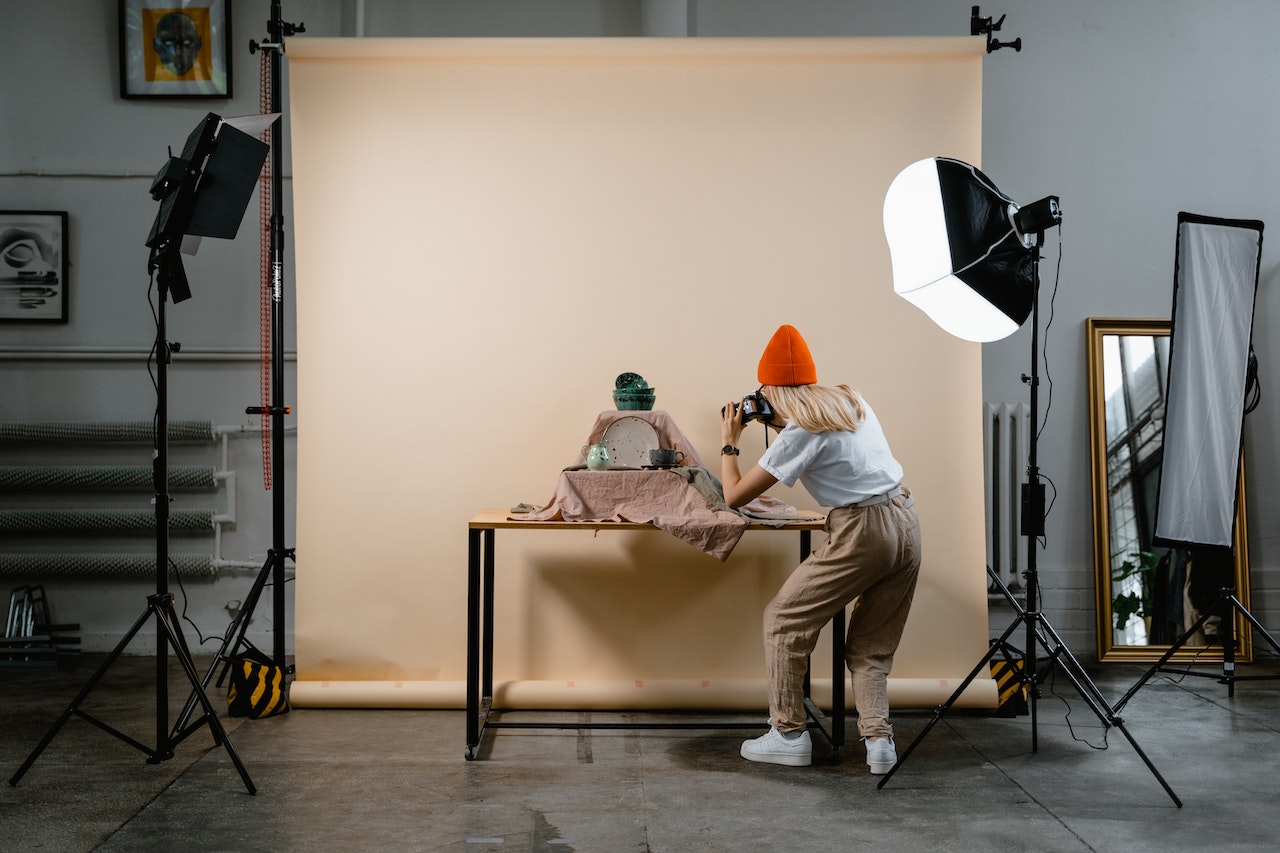
Show your products in the place where they are made or used. This builds a story and connects with your customers.
A Minimalist Coffee Shop
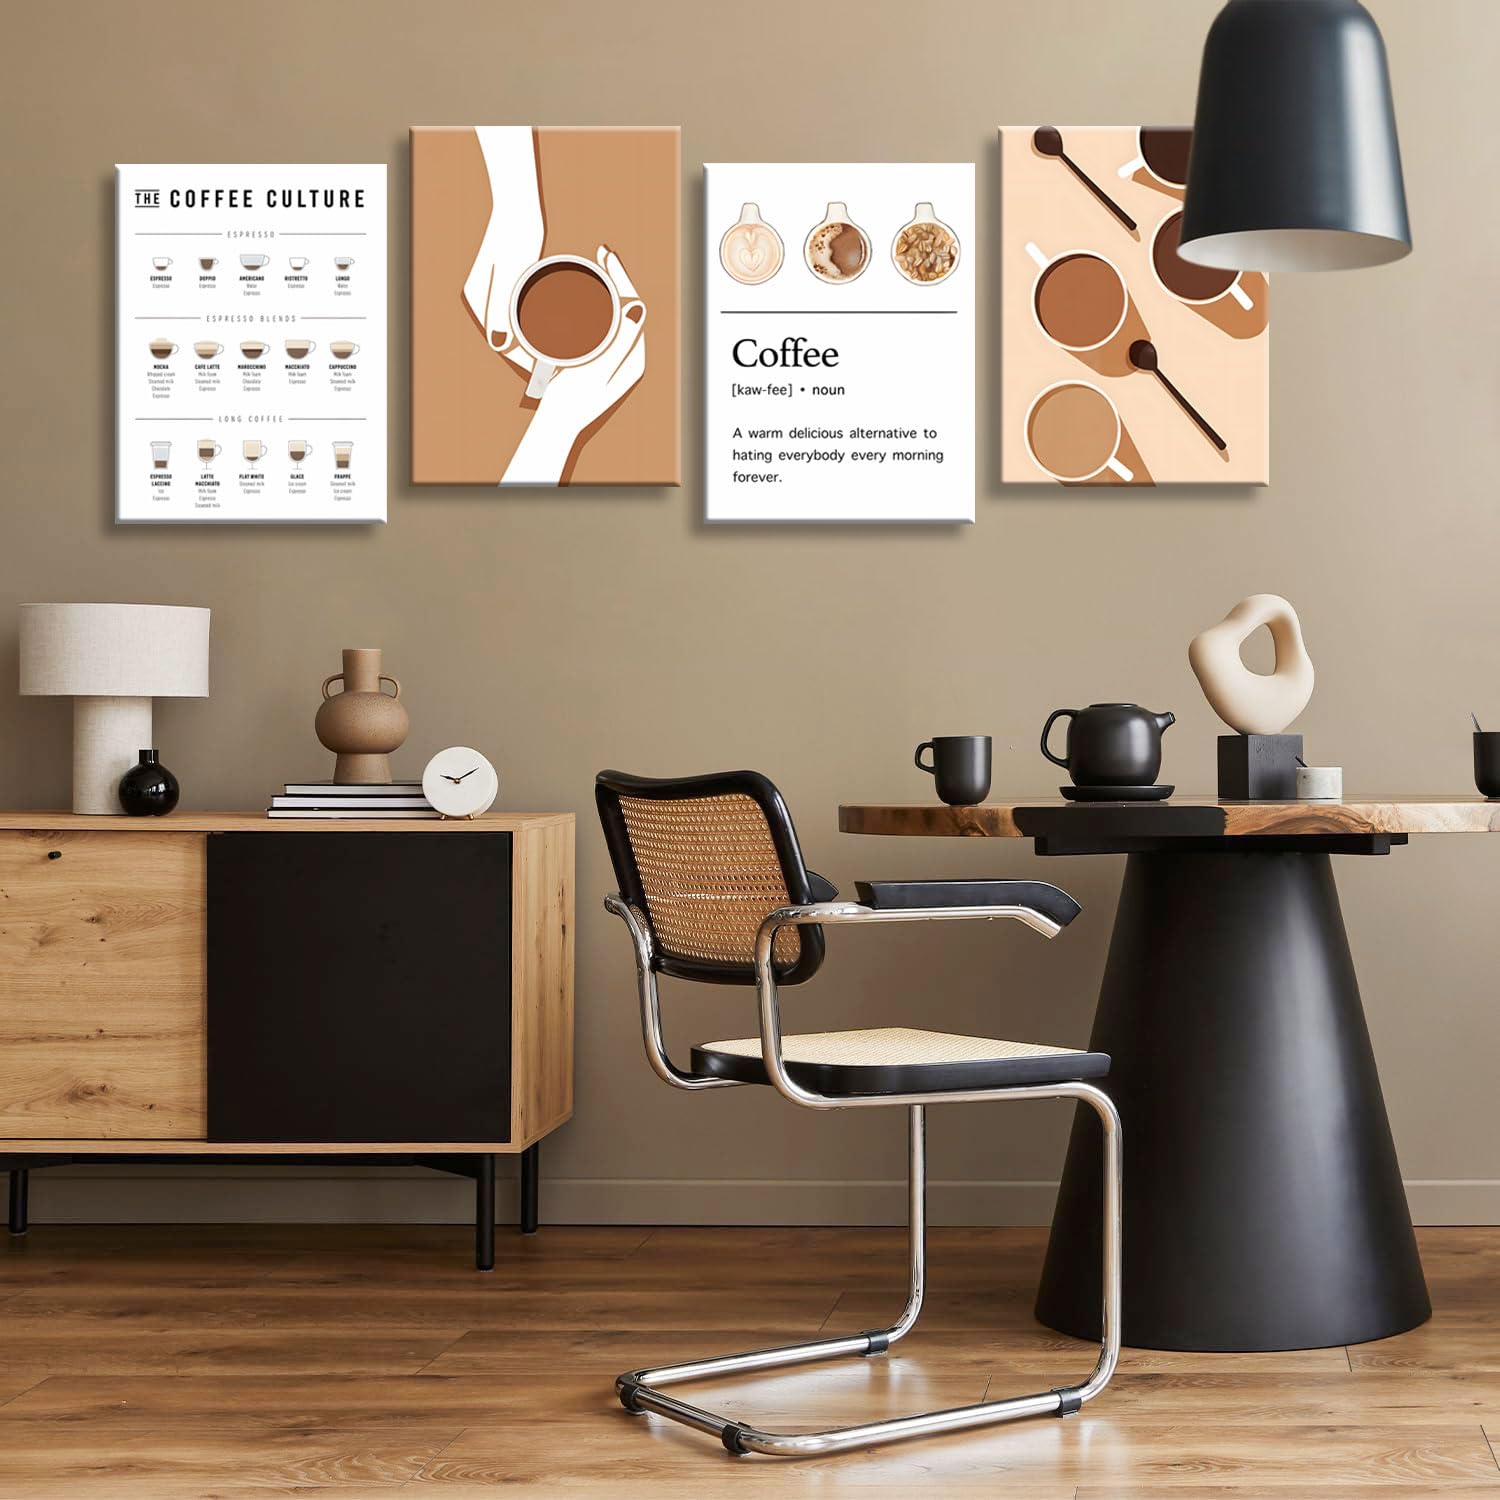
Clean white tables, brick walls, and good indoor lighting make coffee shops great for lifestyle product shots. The calm atmosphere adds a cozy feel. Always ask permission from the staff before you start shooting.
Creative Product Photography Ideas
Here are some creative ideas to make your product photos stand out:
360-Degree Product Spins
Show every angle of your product by creating a 360-degree spin. This gives customers a complete view and builds trust.
Lifestyle Scenes
Stage scenes that show your products in action. For example, show a coffee mug being used at a cozy breakfast table, or skincare products in a morning routine setting. This helps customers imagine using your product in real life.
Reflection Photos
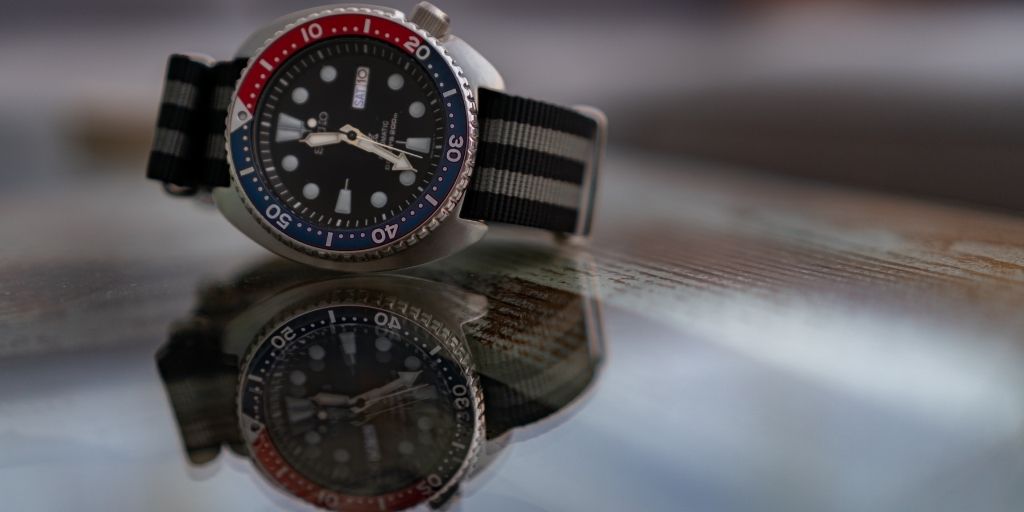
Adding reflections gives your images a sophisticated, high-end feel. Place your product on a reflective surface like glass or a mirror.
Minimalist Shots
Sometimes less is more. A clean, simple composition with plenty of negative space draws all attention to the product itself.
Flat Lay Photography
Arrange your products on a flat surface and shoot from directly above. This style works great for showing multiple items together or creating a styled scene.
Themed Backgrounds
Incorporate backgrounds that match your product’s theme. Use a neutral wooden background for rustic items or a soft pastel for delicate products.
Freeze Motion
Capture movement in your photos – like powder being sprinkled or liquid splashing. This adds energy and excitement to your images.
Add Human Elements
Include hands holding or using the product. This adds a personal touch and helps customers understand the size and scale.
Camera Settings for Product Photography
Getting your camera settings right is important for sharp, professional-looking photos. Here are the recommended settings:
| Setting | Recommended Value | Why |
|---|---|---|
| Aperture (f-stop) | f/8 to f/11 | Keeps the entire product in sharp focus from front to back |
| ISO | 100 to 200 | Keeps images crisp and noise-free |
| Shutter Speed | 1/125s to 1/200s | Freezes any movement and prevents blur |
| File Format | RAW | Gives you more flexibility when editing |
| Aspect Ratio | 1:1 (square) or 4:5 | Perfect for online marketplaces and social media |
If you are using a smartphone, place your product roughly 40 to 80 centimeters from a bright window. Position the front of your product at a 30 to 45 degree angle to the light source for the best results.
What to Consider and What to Avoid
Good product photos do not happen by accident. Here are the key things to focus on and the common mistakes to avoid.
What to Consider
- Use Soft, Diffused Light
Hard light creates dark, ugly shadows. Soft light wraps around your product and shows all the details nicely. Use a light box, a sheer curtain, or bounce your light off a white wall to make it soft. Even lighting is the secret to a professional look. In fact, good light fixes 70% of product photography problems. - Keep Your Background Clean
The background should not steal attention from your product. White, grey, or black backgrounds are classic and work for almost anything. If you use a colored background, make sure it complements the product, not clashes with it. A clean background makes your item stand out. - Show Different Angles
Customers want to see the product from all sides. Take shots from the front, back, side, and top. Also take close-up shots of important details like textures, logos, or small features. Multiple angles build trust because buyers know exactly what they are getting. - Fill the Frame
Your main product photo should have a tight crop, filling about 80% of the frame. This makes the product the clear focus and helps customers see it clearly. - Keep Details Visible
Make sure branding, logos, and lettering are clearly visible. Do not let glare, props, or other elements obscure or distract from the product. - Use a Tripod for Consistency
If you are taking a series of photos, like for an online store, a tripod helps you keep the same angle and distance for every shot. This gives your product page a neat, organized, and professional look. - Clean Your Product Before Shooting
Dust, fingerprints, and smudges show up very clearly in photos. A clean product is the foundation of a great photo. Wipe your product with a soft microfiber cloth before you start. Check it under bright light to make sure it is spotless. - Create a Consistent Style
Establish a consistent photography look and style for your brand. This helps customers recognize your products instantly and builds brand identity.
What to Avoid
- Avoid Using Built-In Flash
The flash on your phone or camera makes harsh, flat, and shiny photos. It washes out colors and creates ugly reflections. Always use natural light or a separate soft light instead. - Avoid Harsh Midday Sun
Direct sunlight can cast harsh shadows on your subject. If you must shoot outdoors at this time, move into the shade. Open shade under a tree or building gives soft, even light. - Avoid Busy or Messy Backgrounds
Patterned carpets, messy rooms, or cluttered desks ruin product photos. The eye does not know where to look. Stick to plain, simple backgrounds that let your product be the star. - Do Not Mix Different Light Sources
Do not mix daylight with artificial light. Different light sources have different color temperatures, which can make your product look strange and unevenly lit. - Avoid Over-Editing
Turning up contrast and saturation too much makes the product look fake. Customers may feel disappointed when they receive the real item. Keep your edits subtle and natural. Show the product exactly as it looks in real life. - Do Not Use Digital Zoom
Zooming in on your phone makes the image lose quality. Instead, move your camera closer to the product. If you cannot move closer, take the shot and crop it later. The sharpness will be much better. - Avoid Flat Lighting
Avoid overexposed or completely flat lighting, which can make the product look unnatural. Soft shadows add depth and realism to your product images. - Avoid Reflections and Glare
Shiny products like glass, metal, or jewelry are tricky. Direct light bounces back as white spots. Angle your lights to the side or use a polarizing filter on your camera to cut down glare. Diffused light also reduces harsh reflections.
Frequently Asked Questions (FAQs)
1. Do I need a professional camera for product photography?
No. A modern smartphone is perfectly fine for most product photos, especially for social media and small online shops. Good lighting and a clean background are much more important than an expensive camera.
2. What is the best background for product photos?
White, grey, and black are the safest and most professional choices. They do not distract from the product. Neutral tones focus attention on the product. If you want a colored background, pick a soft pastel that matches your brand colors.
3. How do I take photos of shiny or reflective products?
Use diffused light, not direct light. Place your light source to the side rather than in front. You can also use a light tent, which spreads light evenly and reduces harsh reflections. Try shooting at a slight angle to avoid seeing the camera reflected in the item.
4. What is the best lighting for product photography?
Soft, diffused natural light from a window is excellent and free. Cloudy days provide even, diffuse, and flattering light. If you use artificial lights, use continuous softboxes or LED panels with a diffuser. Avoid direct sun and harsh flashes.
5. How many photos should I take for each product?
Take at least 5 to 8 images for each product. This includes a main shot, a side shot, a back shot, a top-down shot, and two or three close-ups showing details. Online shoppers appreciate seeing many images.
6. What photo editing mistakes should I avoid?
Avoid making the product look like a different color. Do not over-sharpen, over-saturate, or use heavy filters. Keep edits simple – just adjust brightness, contrast, and a little sharpness. The goal is to look real, not fake.
7. Can I use my phone’s portrait mode for products?
Be careful with portrait mode. It can blur the edges of your product by mistake. It works better for round or simple shapes. For sharp, all-over focus on a product, use regular photo mode and tap to focus on the main area.
8. How can I set up product photography on a budget?
Start with natural light, a white poster board for a background, and your smartphone. You can enhance the setup with affordable lights, a DIY reflector (white card or aluminum foil), and a simple tripod.
Conclusion
Product photography does not have to be difficult or expensive. The most important things are simple: good light, a clean background, and a clear, sharp focus on the product itself. Start with whatever camera you have, whether it is your phone or a basic digital camera. Use natural window light as much as possible.
Gather a few basic tools like a tripod, some white or black background paper, and a simple editing app. Practice in easy locations like your desk or a shaded spot outdoors. Pay attention to small details like cleaning the product and avoiding harsh reflections. Be honest in your photos – show the item exactly as it is, so customers know what to expect.
Remember, you do not have to be a professional to take great product pictures. With a little patience and practice, you will see quick improvement. The better your photos look, the more people will trust and notice your products. So set up your space, grab your camera, and start capturing your items in their best light today.