How to Plant Potatoes? Complete Guide
There’s nothing better than the freshness and flavor of freshly harvested organic potatoes (potato lover speaking).
Growing potatoes at home allows you to enjoy a wider variety and eat them at their peak of freshness. And it’s incredibly easy—all you need is a pot.
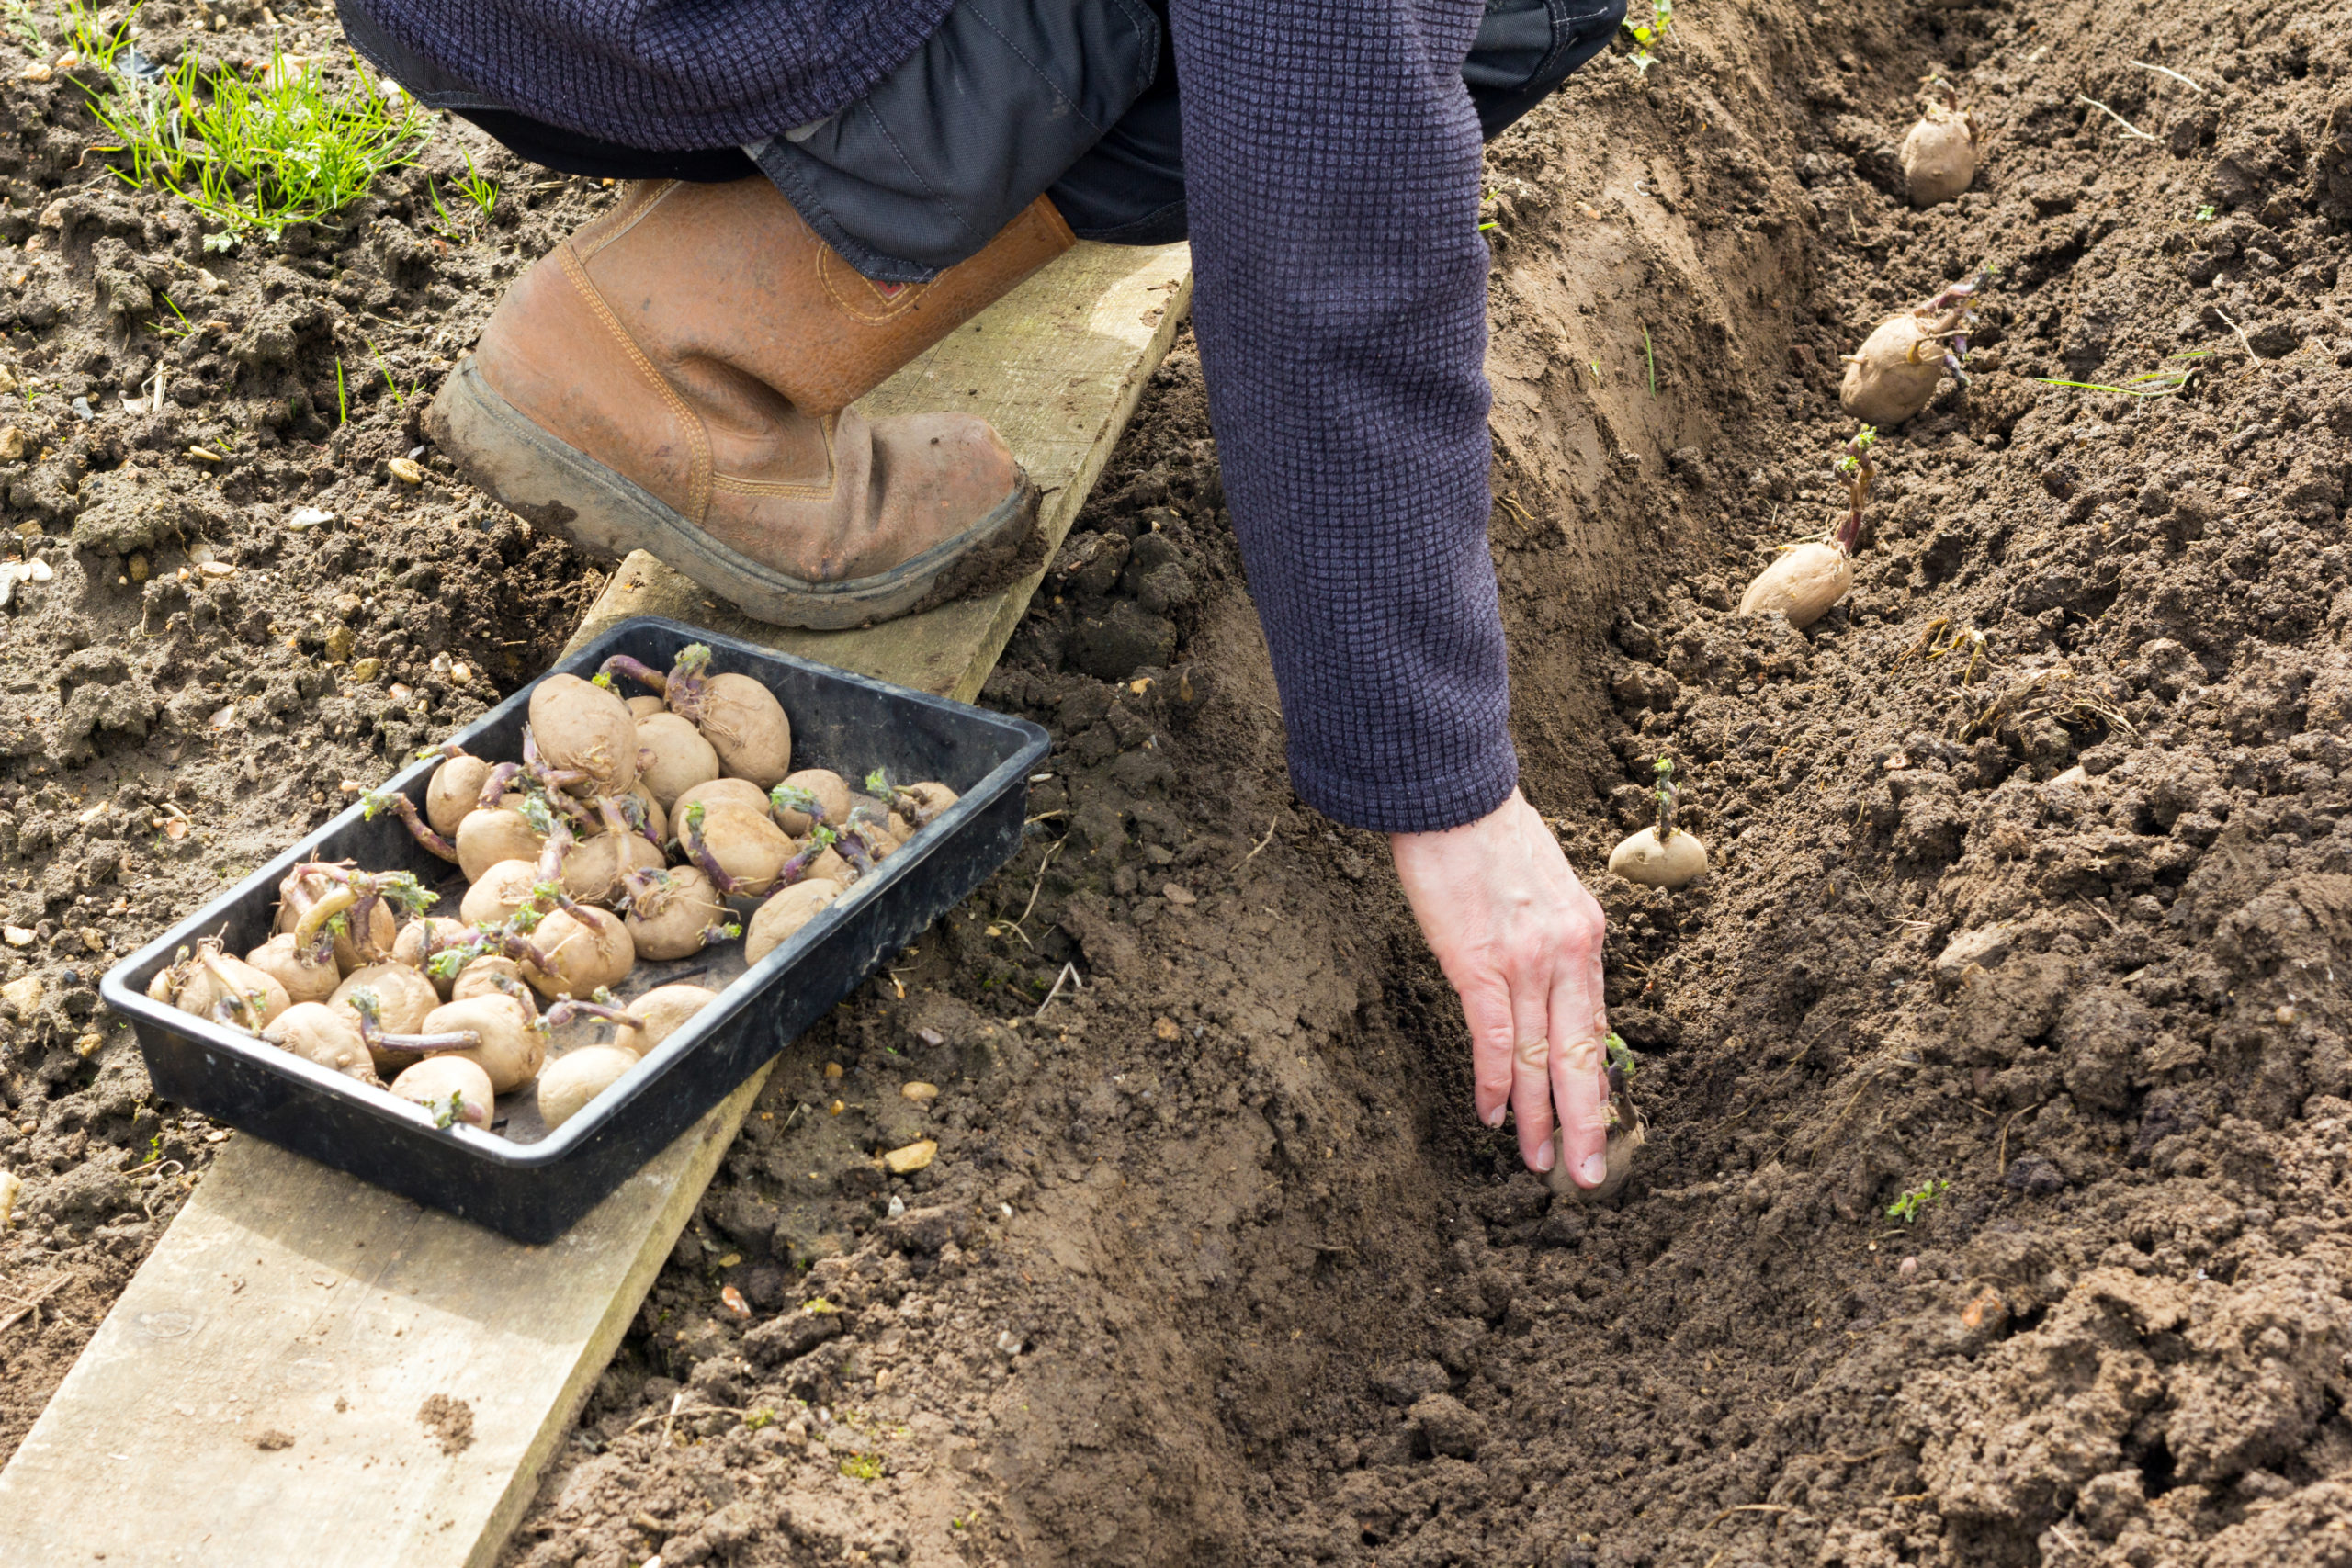
Not long ago, we talked about all the requirements for growing potatoes, but when planting them in pots or planters, the methodology is a bit different. With less space, we need each potato plant to give us its maximum yield, and for that, it needs a little help. Here’s how.
Potato planters are specially designed to maximize potato production in the smallest possible space. A small patio, balcony, or corner of a garden terrace is more than enough for a decent yield.
IMPORTANT Note: Whether you want to plant potatoes from potatoes, in a container, grow bag, bag, laundry basket, ground, raised bed, or milk crate, the basic planting procedure is almost the same. I have provided a general guide below that you can follow for any of these methods. Just make a few small adjustments according to the planting method you choose.
What materials do you need?
- A potato planter or a textile pot of approximately 40 liters.
- Universal substrate or a good compost.
- Organic potatoes.
Date to plant potatoes
The best time to plant potatoes is from the beginning of February (in Mediterranean areas) until the end of March. For Cantabrian areas, it’s advisable to wait a couple of weeks.
And the harvest?
Around May
7 Steps to Plant Potatoes at Home
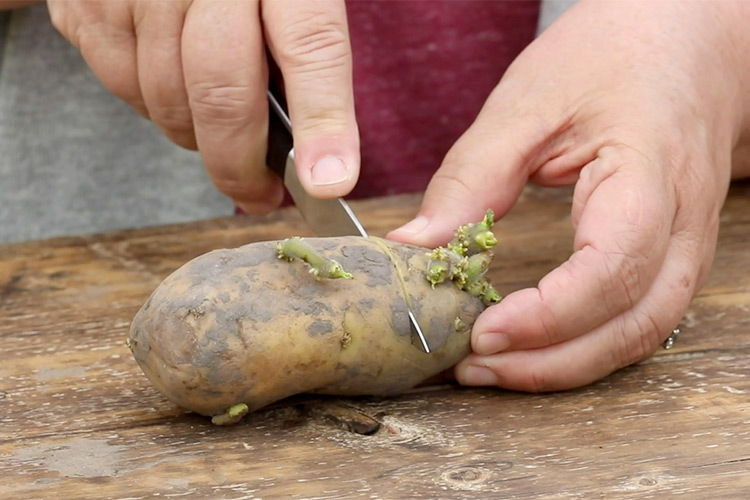
1. Place the potato tubers in a well-ventilated and sunny location.
From February to mid-March, place the potato tubers you wish to plant in a well-ventilated and sunny location; this way they will germinate (use organic potatoes, as they will not contain compounds that prevent or delay germination).
2. Choose the best sprouts.
At three weeks, choose the three tubers that have the largest sprouts.
3. Prepare the pot for planting the potatoes.
Unfold the bag and place it in a sunny spot.
4. We add substrate and place the tubers.
Place a layer of about 30 cm of universal potting mix or compost (this will fill about 1/3 of the bag) and arrange the sprouted tubers on top, spacing them apart. Make sure to position them with the sprouts pointing upwards!
5. Finish covering the potatoes and water.
Cover it with a layer of potting mix or compost and water until the entire surface is moist. It’s important to simply cover the soil and not fill the pot to the top with potting mix. You’ll need that vertical space later.
6. We add substrate as the plant grows.
As the plant grows, gradually add more layers of substrate or compost, about 10 cm thick (it’s okay to bury some leaves, but always leave leaves on top). This encourages the plant to grow more vertically and develop more roots, resulting in more potatoes.
7. The harvest begins!
When it’s time to harvest, you can either tip the contents of the bag over to collect them all or lift the side lid to pick them out one by one.
How to Water?
We will water as needed to keep the soil consistently moist, but avoid waterlogging (textile pots are ideal for this, as they drain excess water perfectly). Waterlogged soil will only lead to fungal problems and other diseases.
Tip: Since the volume of potting mix in plant pots is usually not very large, water evaporates more quickly. A good practice is to use organic mulch, such as straw, which will retain soil moisture for longer and, as it decomposes, will provide nutrients to the plant.
When do we harvest the potatoes?
The potatoes will start to be ready when the plant begins to flower; you can check the quantity and size by opening the side cover to be sure.
As you can see, planting potatoes at home is very easy. I added them to my urban garden a couple of seasons ago, and since then they have always been a staple.